How to Make a Diaper Cake Step by Step
Direct answer: To make a diaper cake, roll about 50–65 size 1 or 2 diapers, secure each roll with a small rubber band, stand the rolls in rings around a centre support on a cake board, stack three shrinking tiers, wrap each tier in ribbon, and finish with a plush topper. Plan about an hour or two for your first cake.
A diaper cake looks like a fancy centrepiece, but it is really just diapers, rubber bands and ribbon. It is a decoration, a gift and a talking point at once — and when the shower is over, every diaper can be taken apart and used. This guide answers the questions every first-time maker asks, with real numbers from published tutorials so you can shop once and build with confidence.
What Is a Diaper Cake?
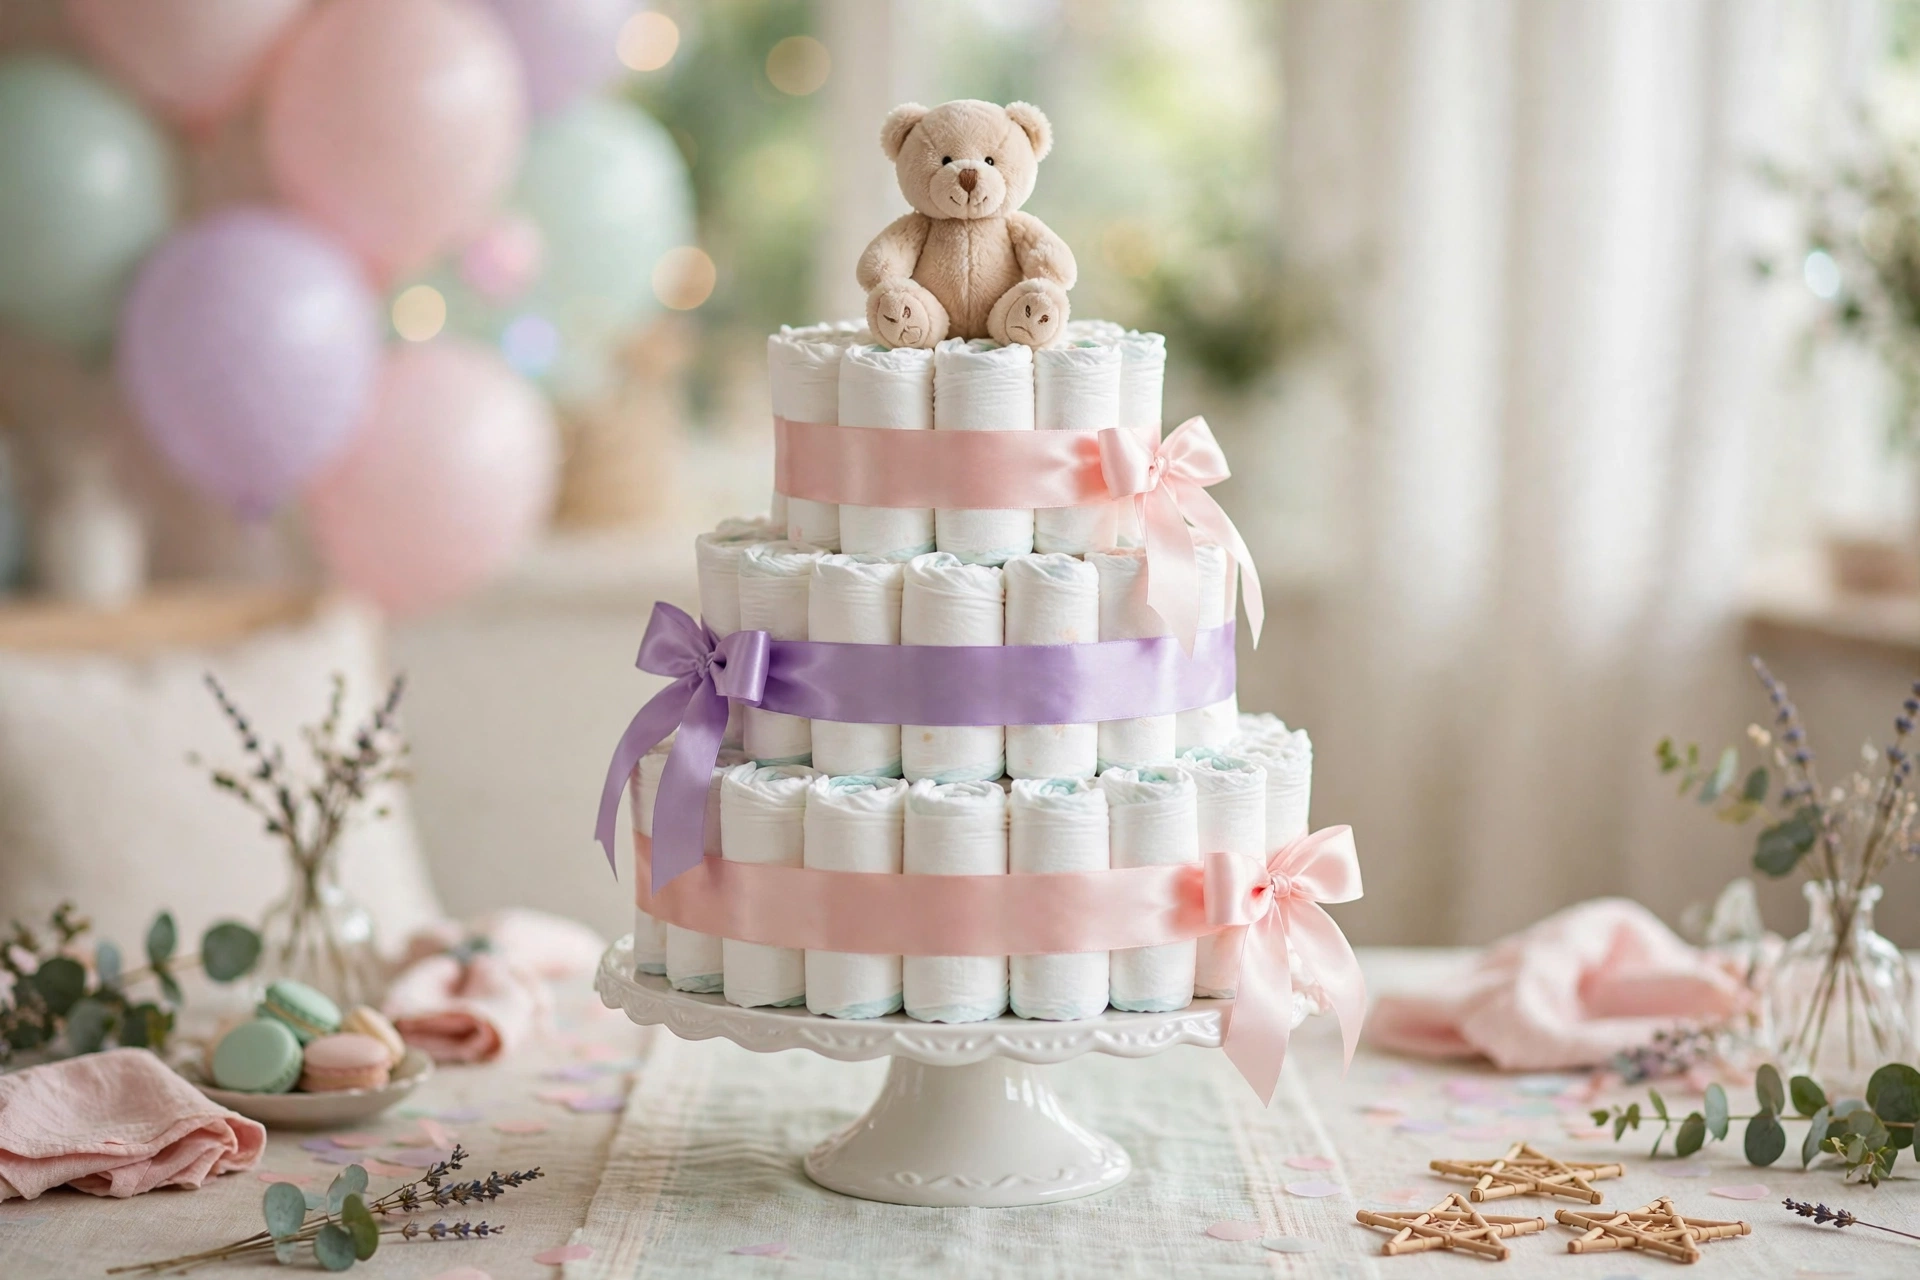
A diaper cake is a tiered decoration of rolled or stacked disposable diapers, built to look like a layer cake. Wide ribbon hides the rubber bands, and small baby items decorate the top and tiers.
Most have three tiers, like a wedding cake. One or two tiers suit a small shower, while four make a show-stopper for a large party. Round is easiest; square cakes need more diapers. Build it as the gift-table centrepiece, then hand it to the parents. Unlike a real cake, it never melts and needs no fridge. Our guide on how to plan a baby shower step by step and the baby shower planning checklist for hosts will help you plan the day around it.
How Many Diapers Do You Need for a Diaper Cake?
Sources vary, but the guides overlap enough to give a reliable range. For a round three-tier cake, plan on 50–65 diapers: Huggies says about 50, BabyBjörn says 50–65, and Babylist says 50–100 for a medium cake. The per-tier split is roughly 30–35 for the base, 20–25 for the middle, and 10–15 for the top.
| Cake size | Tiers | Diapers needed | Best for |
|---|---|---|---|
| Mini | 1 tier | 20–30 | Small shower |
| Small | 2 tiers | 28–50 | Intimate shower |
| Classic | 3 tiers, round | 50–65 | Standard centrepiece |
| Classic square | 3 tiers, square | 70–80 | Modern look |
| Showstopper | 4 tiers | 100–120 | Large shower |
Bigger diapers make fatter rolls, so you need fewer, and a wide, lush cake needs more than a slim one. Buy one pack more than the table suggests.
Never buy exactly 50 diapers for a 50-diaper cake. One torn diaper, one uneven roll, one thin tier — and you are short. Buy a pack of 60 or more, and let the spares become part of the gift.
Which Diaper Size Should You Use?
The guides disagree on size. Babylist recommends newborn or size 1; Pampers says size 1–3 or a mix is common, with larger sizes at the bottom because they are sturdier; BabyBjörn suggests a bigger size. The consensus is size 1 or size 2.
Skip newborn size unless the parents asked for it — babies outgrow it within a couple of weeks. Size 1 is the safe all-rounder; size 2 lasts longer.
A mixed-size cake is the clever middle ground: size 2 or 3 at the bottom, size 1 in the middle, newborn or size 1 on top. The larger diapers give the base a stabler footprint, and the parents get diapers to use over several months. Check the registry first: if the parents registered for a specific brand or size, use it.
Diaper Cake Supplies: Everything You Need
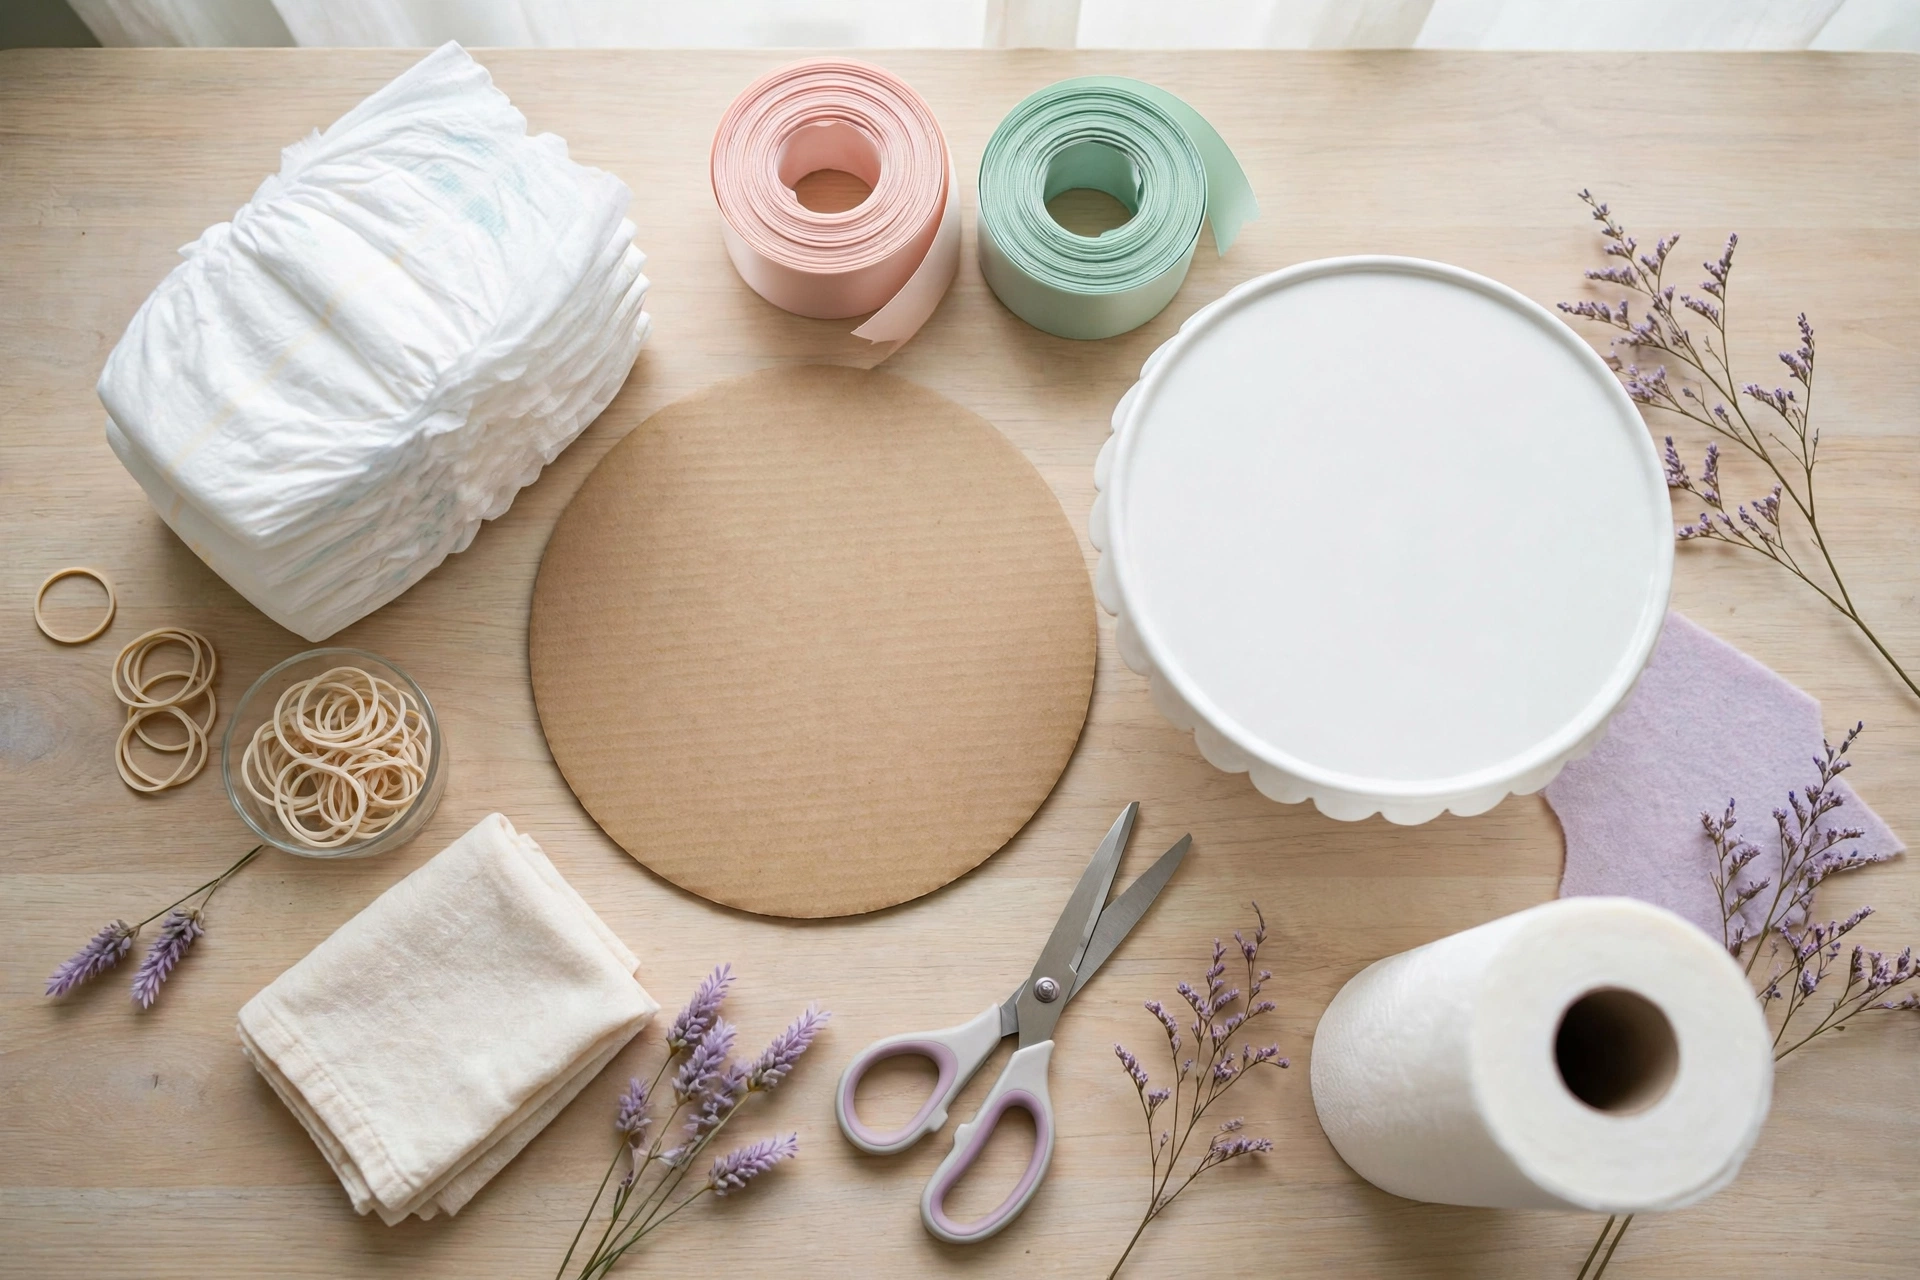
Gather everything before you roll a single diaper.
- 50–65 disposable diapers, size 1 or 2, for a classic three-tier round cake.
- Small rubber bands or hair ties, at least 100 — one per rolled diaper, plus spares. Babylist recommends a pack of at least 100.
- 3–4 large rubber bands, one per finished tier.
- Wide ribbon, 1.5–2 inches wide — one roll per tier, plus extra for bows.
- A round cake board or cardboard circle, about 12 inches across.
- A centre support: a paper towel roll, a wrapping-paper tube, or a baby lotion bottle.
- Tape or a glue gun, scissors, string and twine.
- Decorations: a plush topper, baby socks, a bib, a teether, small flowers or greenery.
- Clear cellophane or large clear gift wrap.
One maker built a full three-tier cake for under $30 using supplies already at home. If you are costing the whole shower, our guide to how much a baby shower costs puts it in context.
Roll or Wrap? The Two Methods Compared
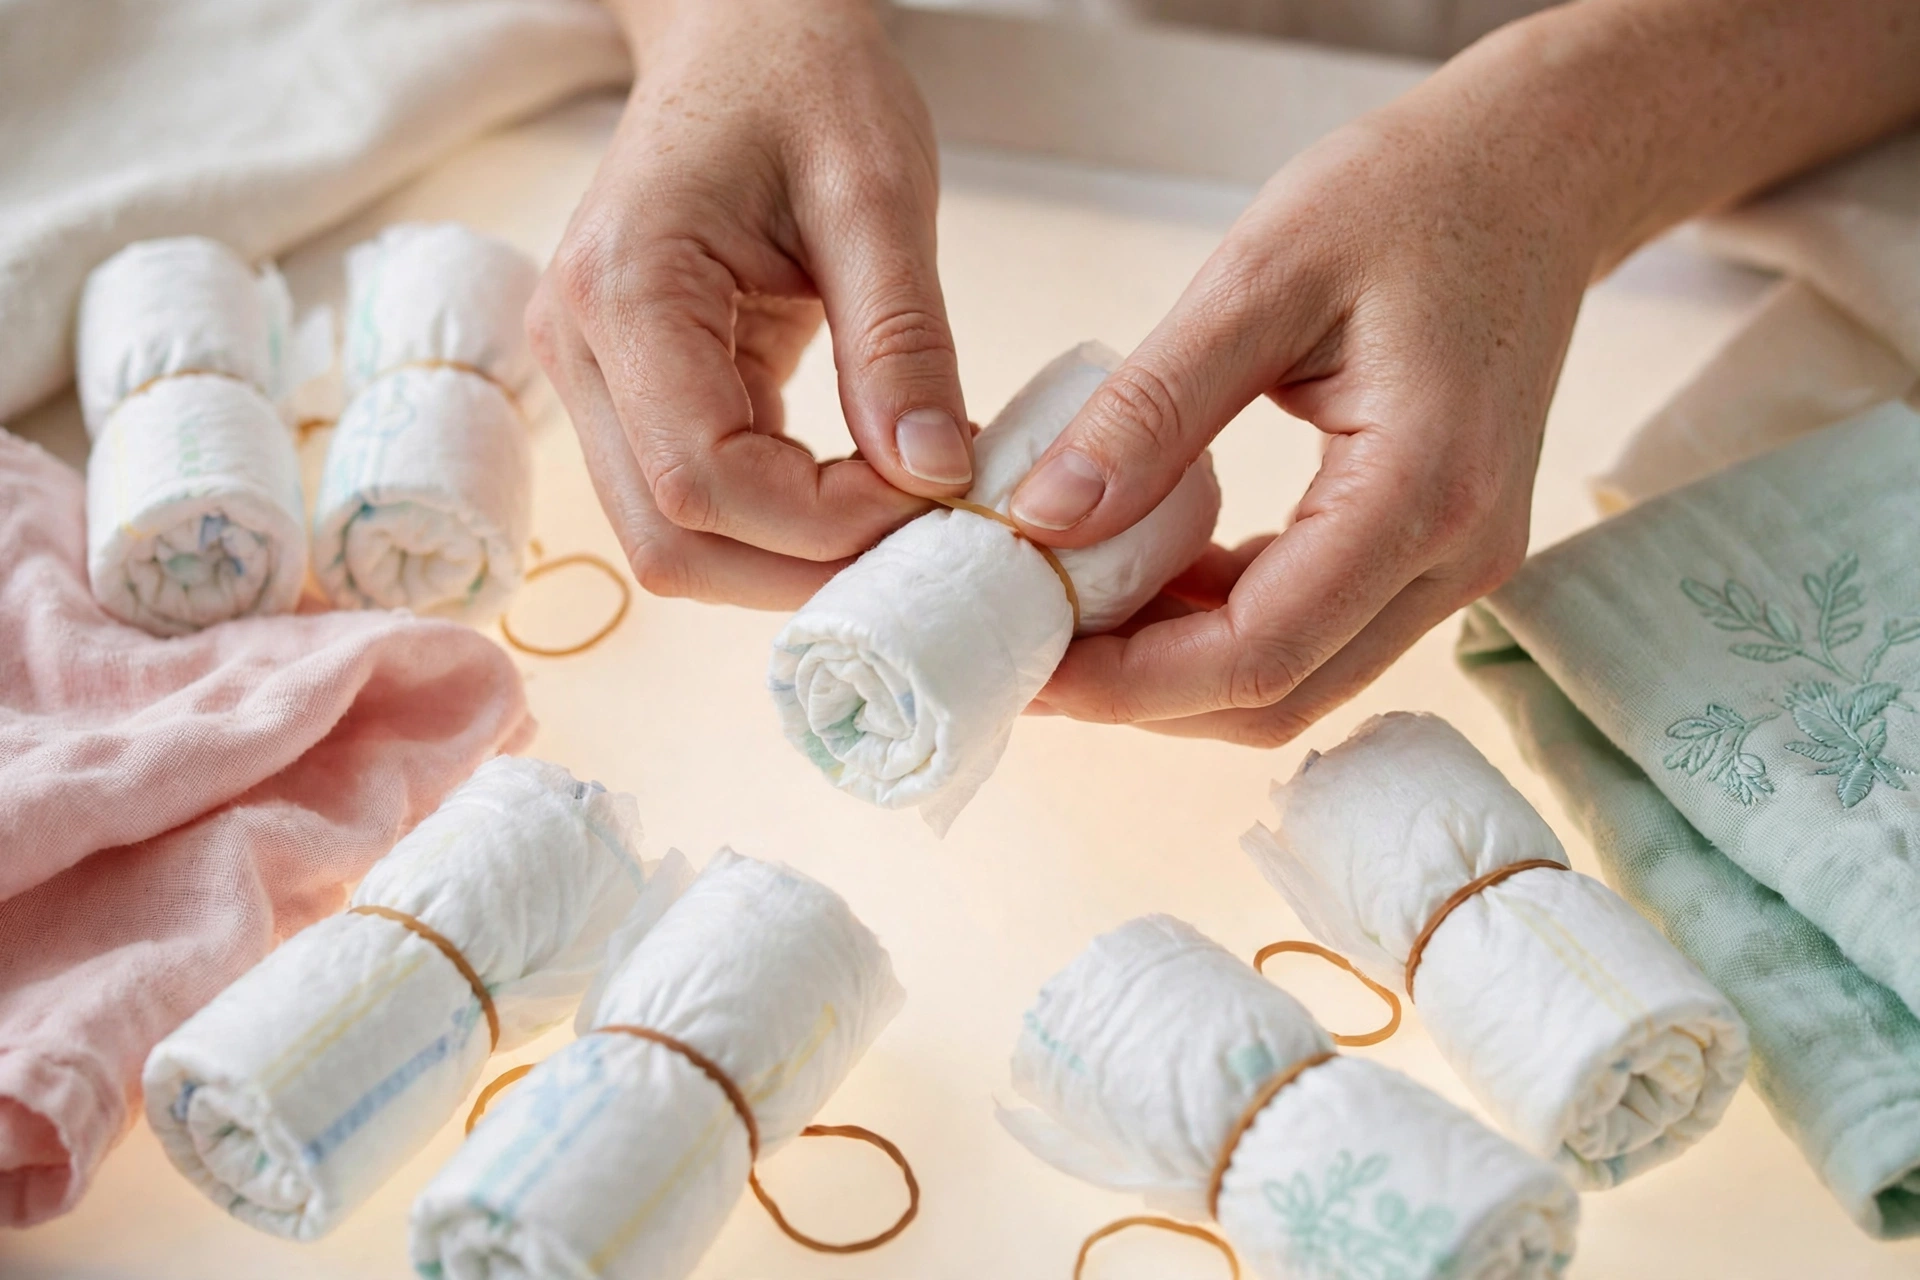
The roll method is the classic. Roll each diaper into a tight cylinder, secure it with a small rubber band, and stand the rolls upright in rings around the centre support. Rolled cakes look like a real tiered cake from every angle. Rolling takes longer, but it is the most forgiving for a first-timer: a wobbly ring can be fixed one roll at a time. Most tutorials, including Babylist, Huggies and BabyBjörn, teach it.
The wrap method skips rolling entirely. Stand whole diapers upright around the centre support, overlapping them like flower petals, and tie the ring with ribbon or twine. It is much faster, and the diapers come out flat and unwrinkled. The trade-off is stability: flat diapers lean, so a wrap-method tier needs a tight tie and a firm centre support or it slumps.
For your first cake, roll: it takes longer, but the result is sturdier. Try the wrap method once you know how a stable tier feels.
Roll each diaper from the bottom end, pattern facing inward, and keep the tension even. One fat, loose roll pushes a whole ring out of shape. Roll a practice ring of seven first: one in the centre, six around it.
How to Make a Diaper Cake Step by Step
Work tier by tier; do not stack anything until each tier stands on its own.
Step 1: Fix the centre support to the base. Tape or glue the paper towel roll upright in the centre of your board or stand. A baby lotion bottle is sturdier and becomes part of the gift. Let glue dry fully — a wobbling post is the top cause of a lean.
Step 2: Roll every diaper. Lay a diaper flat, pattern side down, and roll it tightly from the bottom end. Snap a small rubber band around the middle of each roll. Roll all 50–65 first, or one tier’s worth at a time.
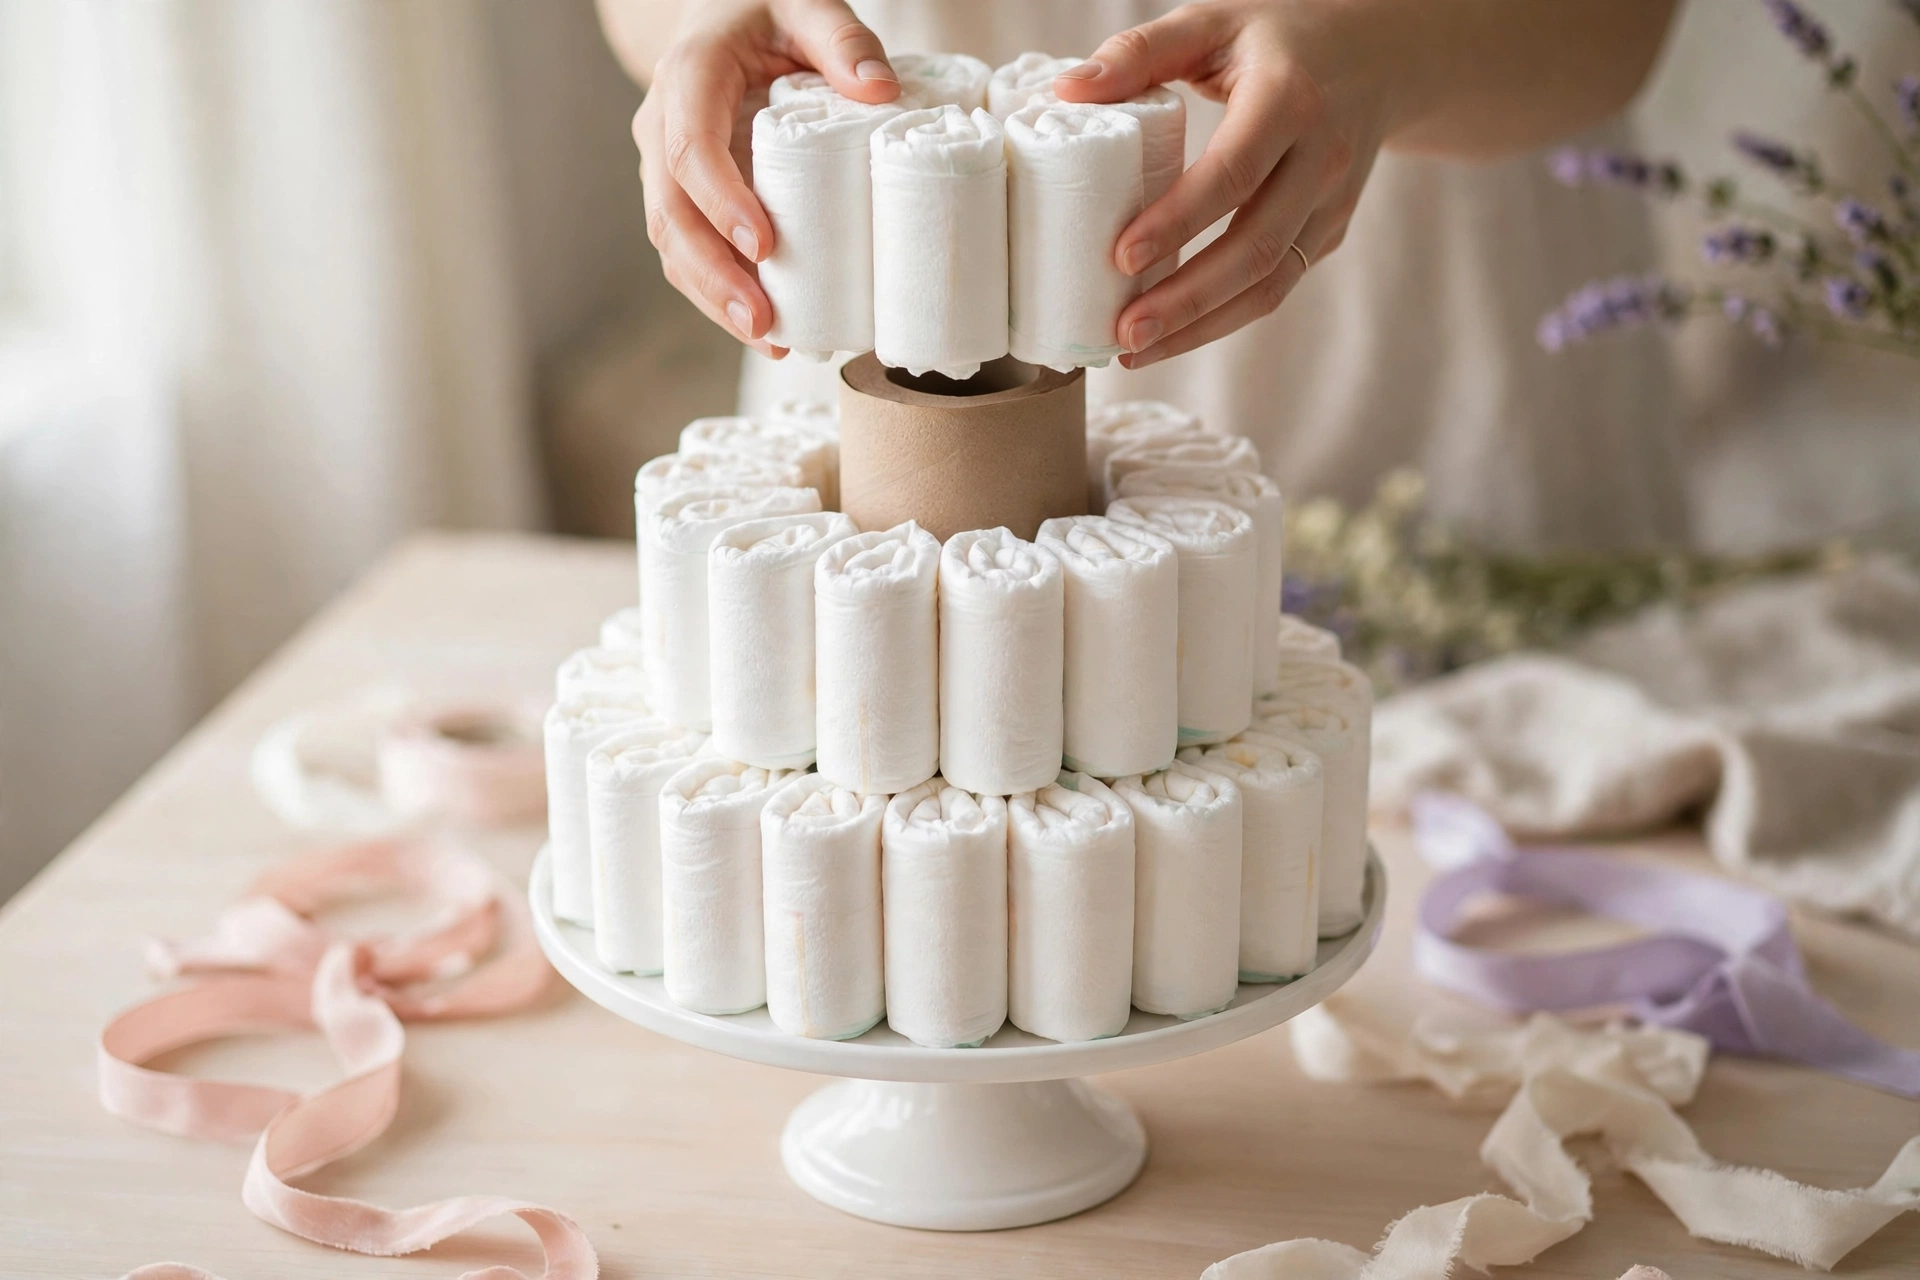
Step 3: Build the bottom tier. Stand one roll upright against the centre support, then add rolls in rings around it: a centre roll, then rings of 6, 12 and 18. Keep adding rings until the tier looks full — about 30–35 rolls. Tie string around it, then swap it for a large rubber band.
Step 4: Build the middle and top tiers. Repeat with smaller rings — about 20–25 rolls for the middle, 10–15 for the top. Build each tier on the table, not on the base: a separate tier is easier to tie and check. Tie each one, check it sits flat, set it aside.
Step 5: Stack the tiers. Lift the middle tier onto the base, sliding the centre support through its middle, then add the top tier. The support runs through all three tiers and stops them sliding. Press each tier gently to seat it.
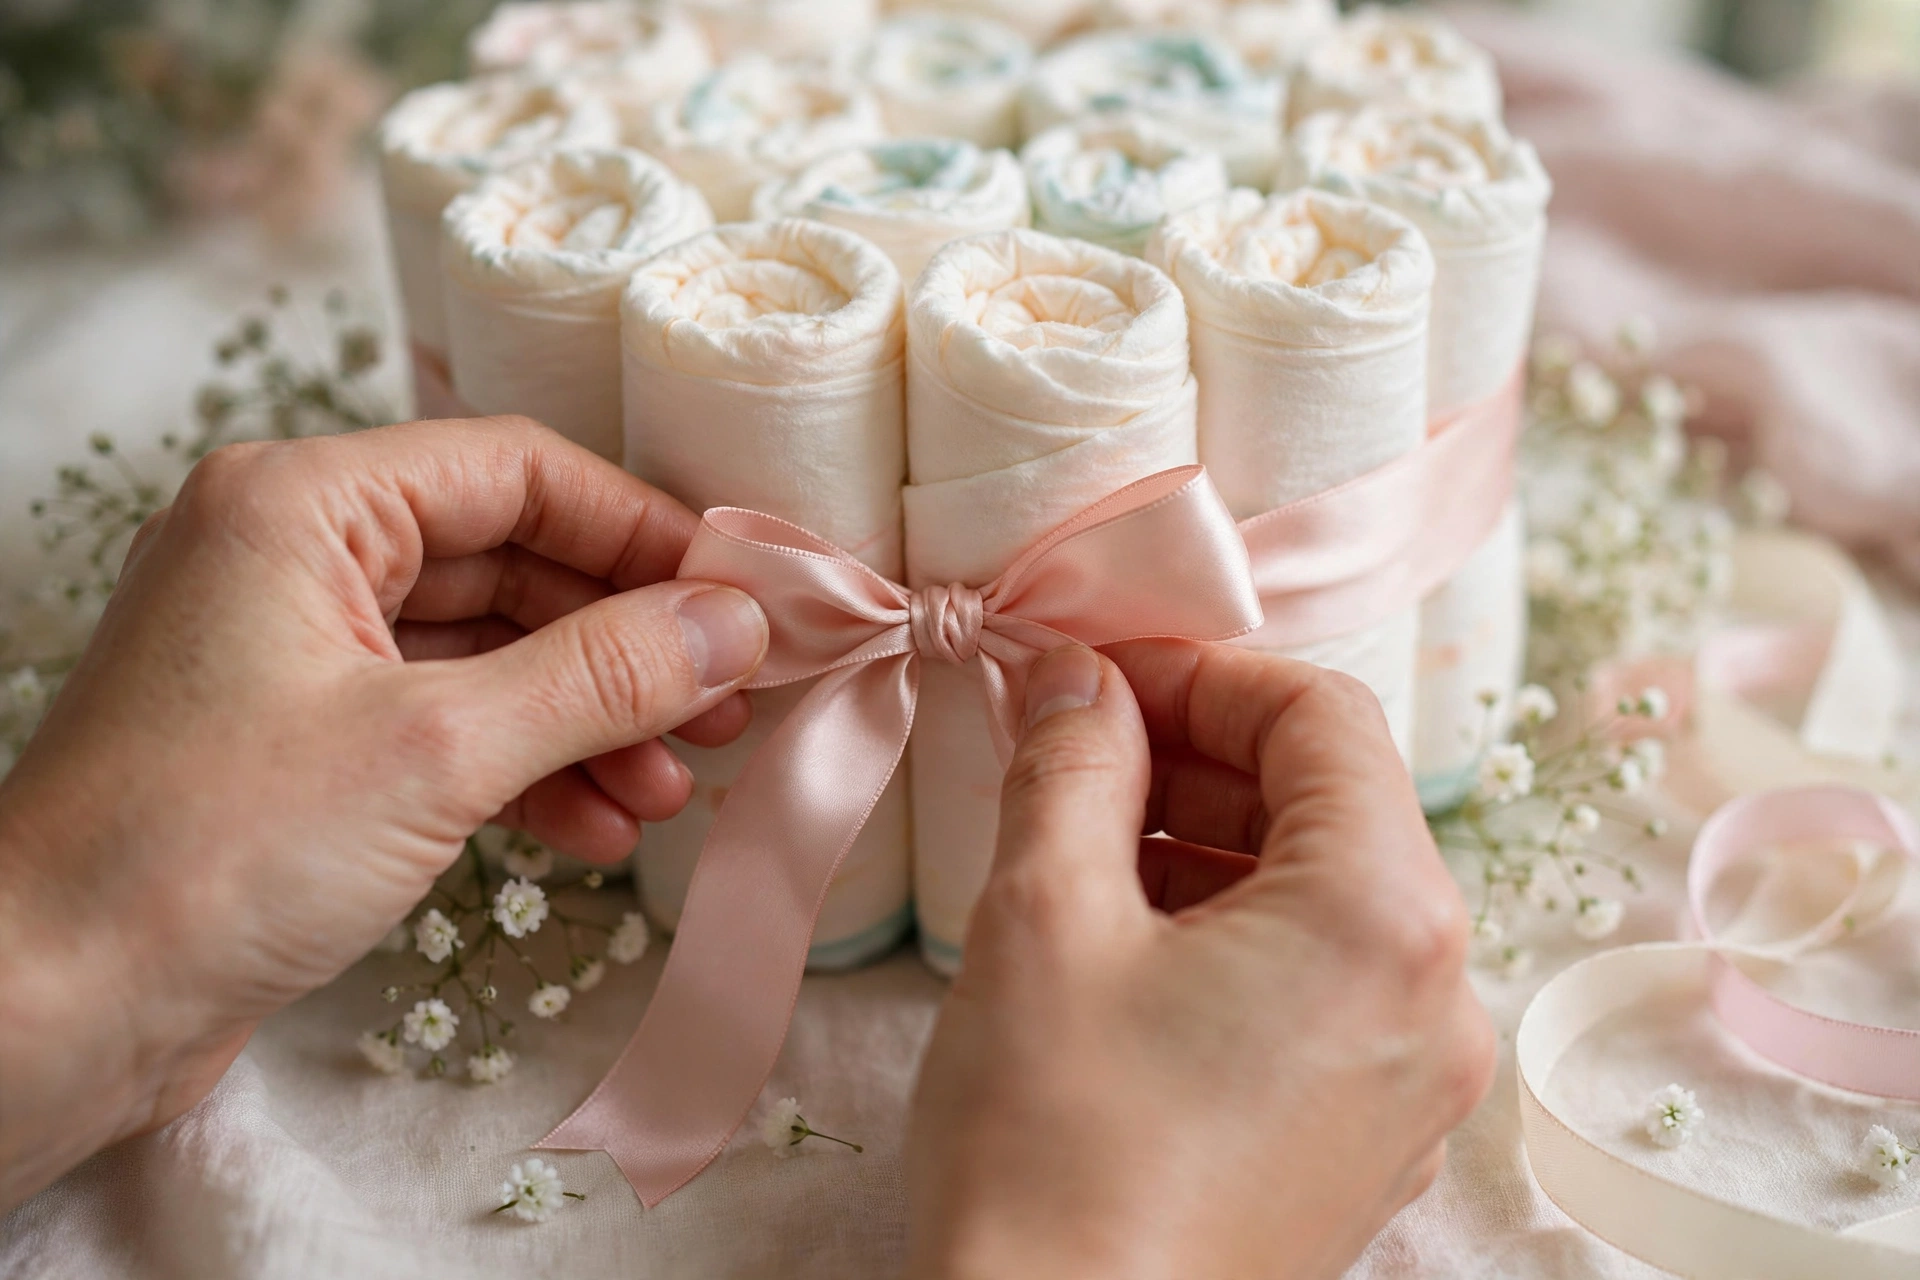
Step 6: Wrap each tier in ribbon. Wrap wide ribbon around each tier to hide the twine and bands. Pin or tape it at the back, or tie a bow at the front.
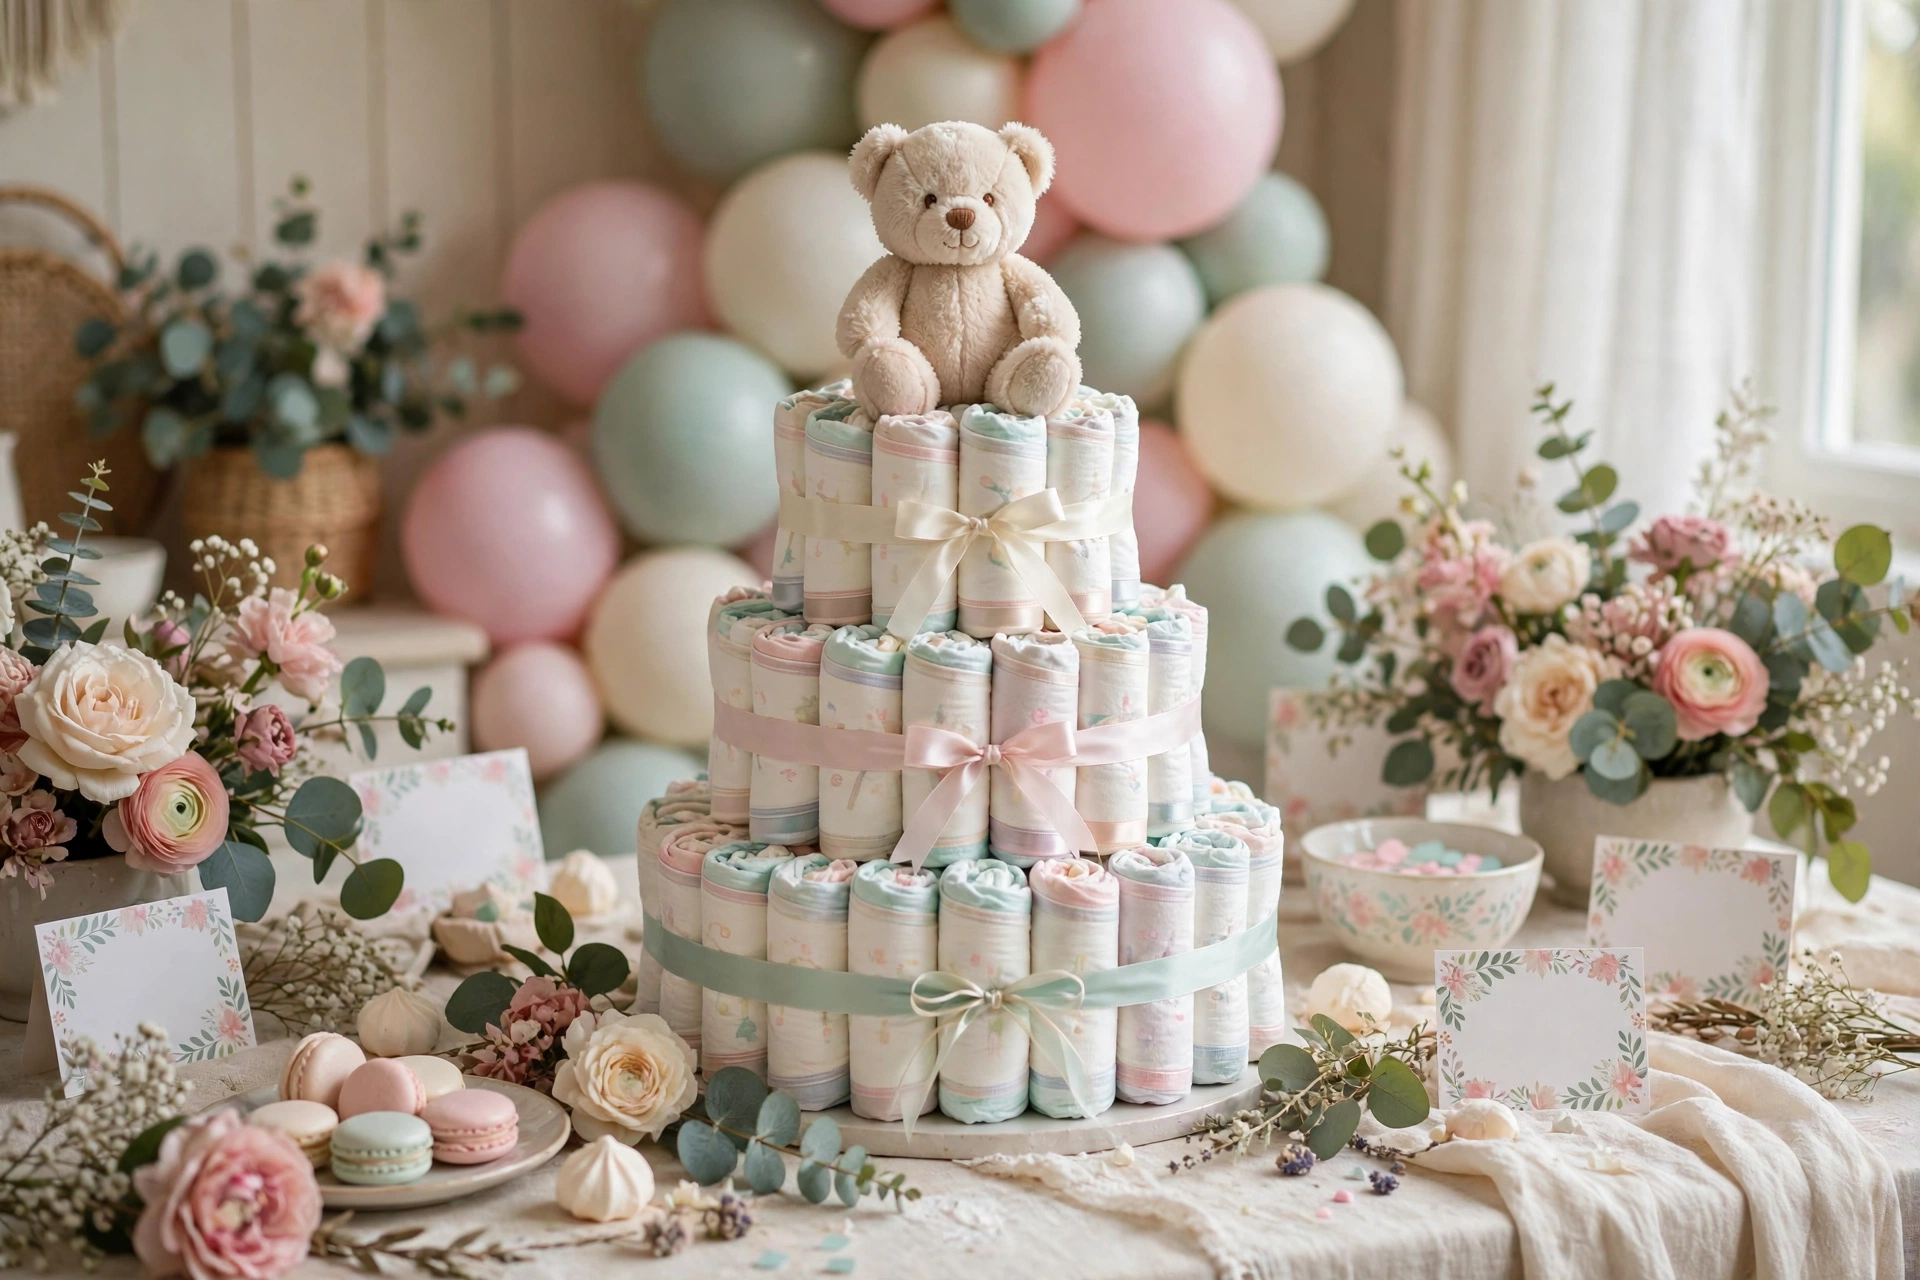
Step 7: Decorate and top it. Place the plush toy on top, pushing it gently down onto the centre support. Tuck socks, a bib, a teether or small flowers between the tiers. Check the cake from every side.
A heavy topper on a tall, narrow cake is the classic collapse. Keep it light — a small plush toy, not a heavy keepsake. If the cake leans before decorating, rebuild that tier. Ribbon cannot fix a lean; it can only hide it for an hour.
Decorating Your Diaper Cake
Decorate with things the parents can use: a plush topper, baby socks rolled like roses, a bib over the middle tier, a teether in the ribbon. For useful tuck-in items, see our guides to the best baby shower gifts for first-time parents and practical baby shower gifts new parents actually use.
Match the ribbon to the theme and keep to two or three colours. For theme and design inspiration, see our best diaper cake ideas guide. Fresh flowers wilt and shed pollen onto the diapers, so use small faux sprigs or greenery instead, and keep every decoration big enough to be safe around little ones.
Roll a pair of baby socks into a tight spiral and tuck it into the top tier’s ribbon — it looks like a tiny rose. Three sock roses give a plain cake a finished look in under two minutes.
Transporting and Storing a Diaper Cake
The car ride is where most cakes are damaged. Transport it on a flat surface — the boot or the footwell of the back seat, never a sloped car seat. Put a non-slip mat under the board, and drive gently around corners.
The tiers travel best separately: carry them in a box with tissue paper between them, then stack and ribbon them at the venue. If you must transport it fully built, wrap it loosely in clear cellophane first.
You can make a diaper cake days or even a few weeks early: Pampers notes a finished cake keeps well stored clean, dry and wrapped against dust and moisture. Keep it cool, dry and covered in cellophane, away from direct sun — heat and humidity soften the rolls and loosen the bands.
Your Diaper Cake Checklist
- ☐ Decide the size: 1 tier 20–30, 2 tiers 28–50, 3 tiers 50–65, 4 tiers 100–120.
- ☐ Choose size 1 or 2 — check the registry; skip newborn unless asked.
- ☐ Buy diapers, 100+ small bands, 3–4 large bands, ribbon, board, centre support.
- ☐ Fix the centre support to the board; let it dry.
- ☐ Roll every diaper the same way, pattern inward, even tension.
- ☐ Build tiers separately: base 30–35, middle 20–25, top 10–15.
- ☐ Stack tiers on the centre support; check every side.
- ☐ Wrap tiers in ribbon; add topper and decorations.
- ☐ Wrap in cellophane; transport flat; keep cool and dry.
- ☐ Tell parents the size in each tier.
Frequently Asked Questions
How many diapers do I need for a 3-tier diaper cake?
For a round three-tier cake, plan on 50–65 diapers: Huggies says about 50, BabyBjörn says 50–65, Babylist says 50–100 for a medium cake. A square three-tier cake needs about 70–80. Buy a pack with spares.
What size diapers are best for a diaper cake?
Size 1 or size 2 are best. Babylist recommends newborn or size 1, Pampers suggests size 1–3 or a mix with larger sizes at the bottom, and BabyBjörn recommends a bigger size. Skip newborn unless the parents asked for it — babies outgrow it within a couple of weeks.
Should I roll or wrap the diapers for a diaper cake?
Roll for your first cake: it takes longer, but the tiers are sturdier and each roll can be fixed on its own. The wrap method is faster and leaves the diapers unwrinkled, but it leans more easily and needs a very tight tie.
How do you keep a diaper cake from falling over?
Use a centre support through all three tiers — a paper towel roll, a tube or a baby lotion bottle — glued or taped firmly to the board. Build each tier separately, keep the topper light, and transport the cake flat. If a tier leans, rebuild it rather than hiding the lean with ribbon.
Can the diapers be used after the cake is taken apart?
Yes. The diapers are clean and unused, and taking the cake apart is part of the gift. Remove the decorations, ribbons and bands, and they are ready to use. Tell the parents which size is in each tier.
Final Thought
A diaper cake is decoration, gift and centrepiece in one — and far easier than it looks. Fifty to sixty-five rolled diapers, a paper towel tube, some ribbon and an hour or two is all it takes to build something the parents will photograph. Roll evenly, build each tier separately, keep the topper light. For more gift-table ideas, see the best baby shower gift basket ideas and unique baby shower gift ideas beyond clothes and toys, and for design inspiration, our best diaper cake ideas guide covers themes and display ideas.