DIY Baby Shower Balloon Arch Ideas for Any Theme
Direct answer: A DIY balloon arch needs balloons in mixed sizes, a garland strip, a pump, and an hour. Use 3 or fewer colours, vary sizes for texture, and build in clusters of 4. A 6 ft arch needs 60–80 large balloons, or 85–120 mixed-size; an 8 ft arch needs 80–105 large, or 110–150 mixed-size. DIY costs $25–$150; a professional charges $200–$600+.
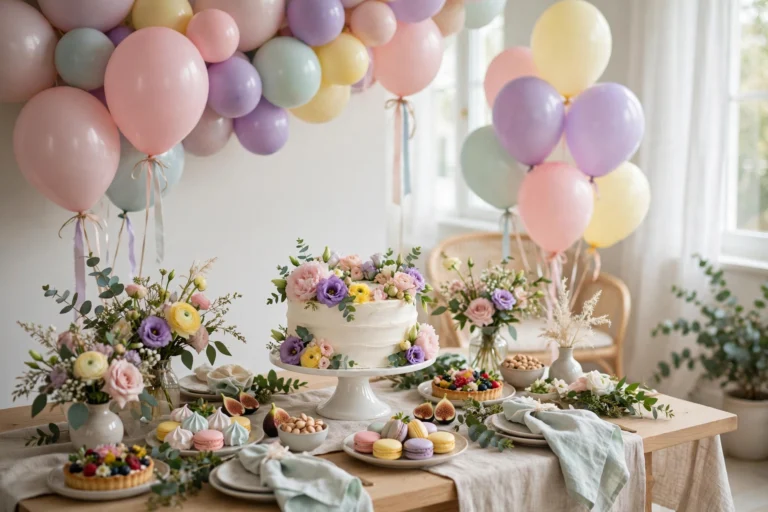
A balloon arch is the single decoration that makes a baby shower look finished. One good arch over the dessert table or doorway gives guests somewhere to look, gives the mom-to-be a photo spot, and makes the party feel planned — and a first-timer can build one in about an hour.
The secret: a balloon arch is really a garland — a chain of balloon clusters — bent into a curve and hung from hooks. Inflate balloons, tie them into groups of four, thread them onto a strip, hang it, and fill the gaps. If you are planning the whole shower, start with our guide to how to plan a baby shower.
What You Need: A Kit or a Strip and a Pump
Option 1: A balloon arch kit. A kit is the easiest route for a first arch: mixed-size balloons in matched colours, a garland strip, glue dots, and sometimes hooks — everything except the pump. Kits are sold by finished length, usually 6 ft, 8 ft, 10 ft or longer. Check the box first: cheaper kits sometimes leave out the pump and hooks.
Option 2: Buy the pieces separately. This is better if you want an exact colour match — say, sage to match the invitations — or if you already own a pump. You need latex balloons in three sizes (5-inch, 10–12-inch, one or two 18-inch accents), a garland strip, glue dots, fishing line, and Command hooks. Buying separately also lets you stock up on main colours — running out of one colour halfway is the most common reason arches look patchy.
The one tool worth paying for: an electric pump. Do not blow up 80 or more balloons by mouth. An electric pump inflates a balloon in seconds, all to a similar fullness. A basic pump costs roughly $15–$25 in US stores. Also have scissors, a bin bag, and a spare pack, about 10–20% more than the table suggests.
Cut a 10-inch circle in cardboard and pass each balloon through it before tying off. Same-size balloons look smooth — inflate slightly under full so they stay round.
How Many Balloons Do I Need? The Honest, Size-Aware Answer
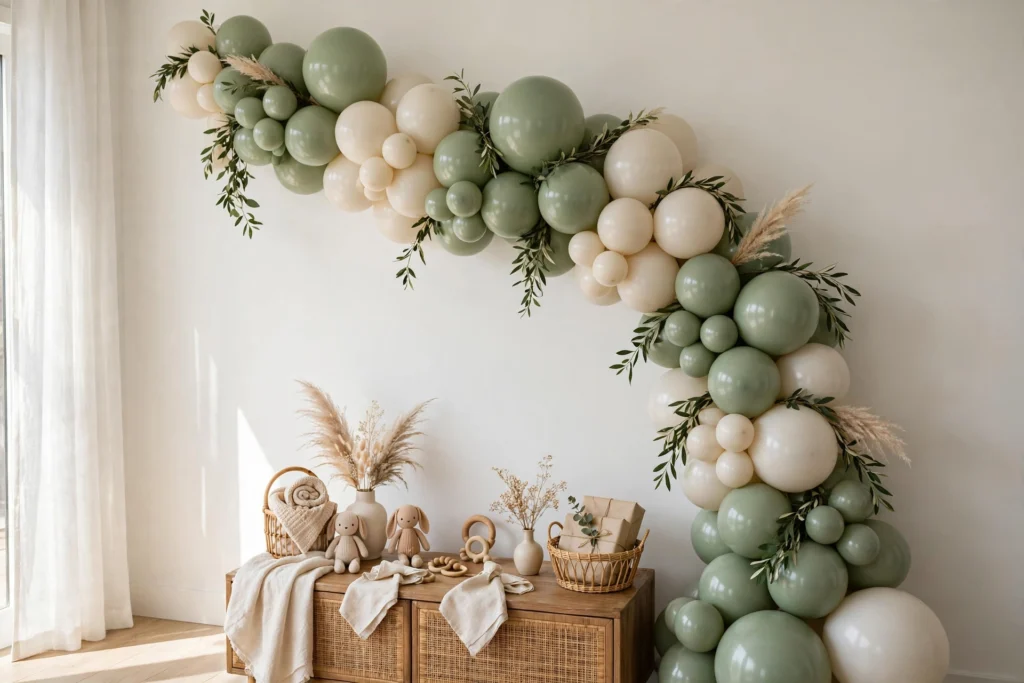
Every guide answers this differently. Three sources give three counts for roughly the same arch: 50–80 for a 6–8 ft arch, 60–80 for 6 ft and 80–105 for 8 ft, and 150–200 for a 6–8 ft doorway arch. All three can be right: they count different things.
The count depends on three things. First, balloon size: 11-inch balloons need roughly 10–13 per foot; 5-inch fillers need far more per foot. Second, length versus width: a doorway arch curves up, across and down, so a 6 ft doorway can need 10–12 ft of garland. Third, density: a loose garland needs far fewer than a dense organic arch.
The lowest figure is the loose end, the middle figures the classic counts, the highest the dense organic end — different builds, not mistakes.
| Arch size (decorated length) | Classic arch: mostly 11–12″ balloons | Organic arch: mixed sizes, total balloons | DIY cost range | Difficulty |
|---|---|---|---|---|
| 4 ft wall garland (dessert table) | 40–55 | 55–75 | $25–$50 | Easy |
| 6 ft arch | 60–80 | 85–120 | $25–$70 | Easy |
| 8 ft arch | 80–105 | 110–150 | $40–$100 | Medium |
| 10 ft full doorway / backdrop arch | 100–130 | 140–200 | $60–$150 | Medium |
The organic totals include everything: main balloons, 5-inch fillers, and a few 18-inch accents (2–3 for a wall garland, up to 5–8 for a doorway arch). Rule of thumb: 10–13 large balloons per foot for a classic arch, plus 40–60% more for the dense organic look — then buy 10–20% extra. A wall garland is roughly $25–$50 if you own a pump; a full backdrop arch roughly $60–$150. A professional typically charges $200–$600 or more, with prices varying by US region. For the full shower budget, see our guide to how much a baby shower costs.
How to Make a Balloon Arch in 6 Steps
Step 1: Measure and plan. Measure along the curve, not straight across: a 6 ft doorway needs roughly 10–12 ft of garland. Cut the strip 1–2 ft longer than the finished length, for slack at both ends. Alternate two main colours and save the third for focal points.
Step 2: Inflate and sort. Inflate with the pump, using the cardboard template so main balloons match. Inflate slightly under full so they stay round; fill the 5-inch fillers a little less. Tie off, then sort by colour and size. A 6 ft organic arch needs roughly 15–20 clusters of four.
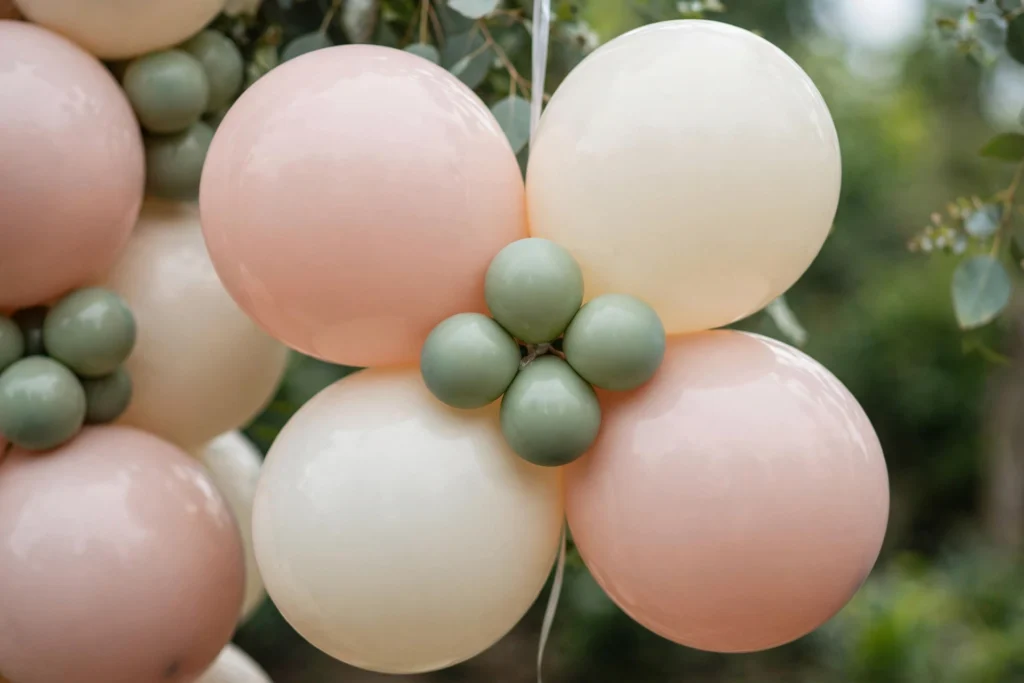
Step 3: Build clusters of four. Tie two balloons together by their knots, do the same with two more, then twist the pairs into a cluster of four — a “quad.” Quads sit flat, lock together, and give the garland its full shape. Mix colours inside each quad — two and two beats solid blocks of colour. Make all your quads before touching the strip.
Step 4: Thread the quads onto the strip. The strip is clear plastic tape with punched holes. Push one knot from each quad through a hole, alternating sides so the garland fills evenly. Push each new quad snugly against the last so no strip shows. Leave a foot of bare strip at each end.
Step 5: Hang and shape it. Put Command hooks up first — one roughly every 2 ft, plus one at each end. Use hooks rated for the weight — a full garland is heavier than it looks. Lift it into place with a helper and tie the strip ends to the end hooks with fishing line. Shape it: push clusters up where it sags, pull them down where it bunches, and judge it from six feet away.
Step 6: Fill the gaps and finish. Fill anywhere the strip shows with a 5-inch balloon on a glue dot. Add 18-inch accents sparingly — two or three at most — at the base and top of the curve. Weave in greenery or flowers between balloons. Photograph it and fix what the camera reveals.
Buying from scratch? A kit usually beats three balloon packs plus a strip and glue dots. Buy separately only for an exact colour a kit lacks.
10 Balloon Arch Colour Palettes for Any Theme
The palette is the theme. The rule for every one: three colours or fewer, one neutral like cream, metallics at about 10%.
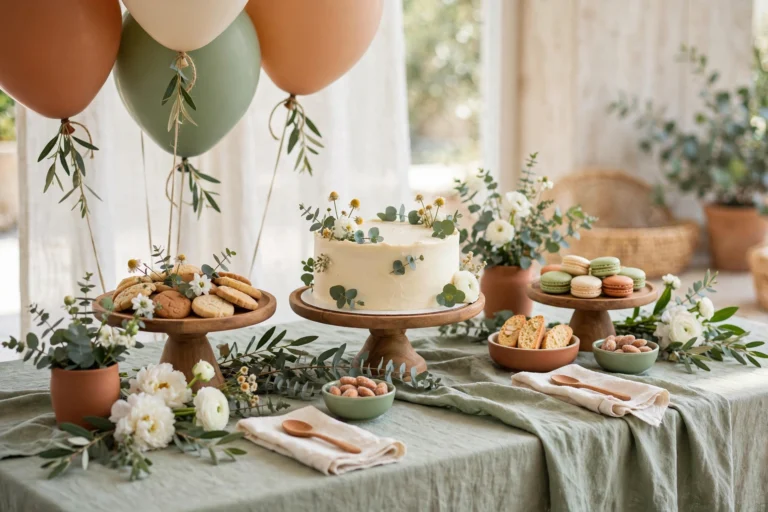
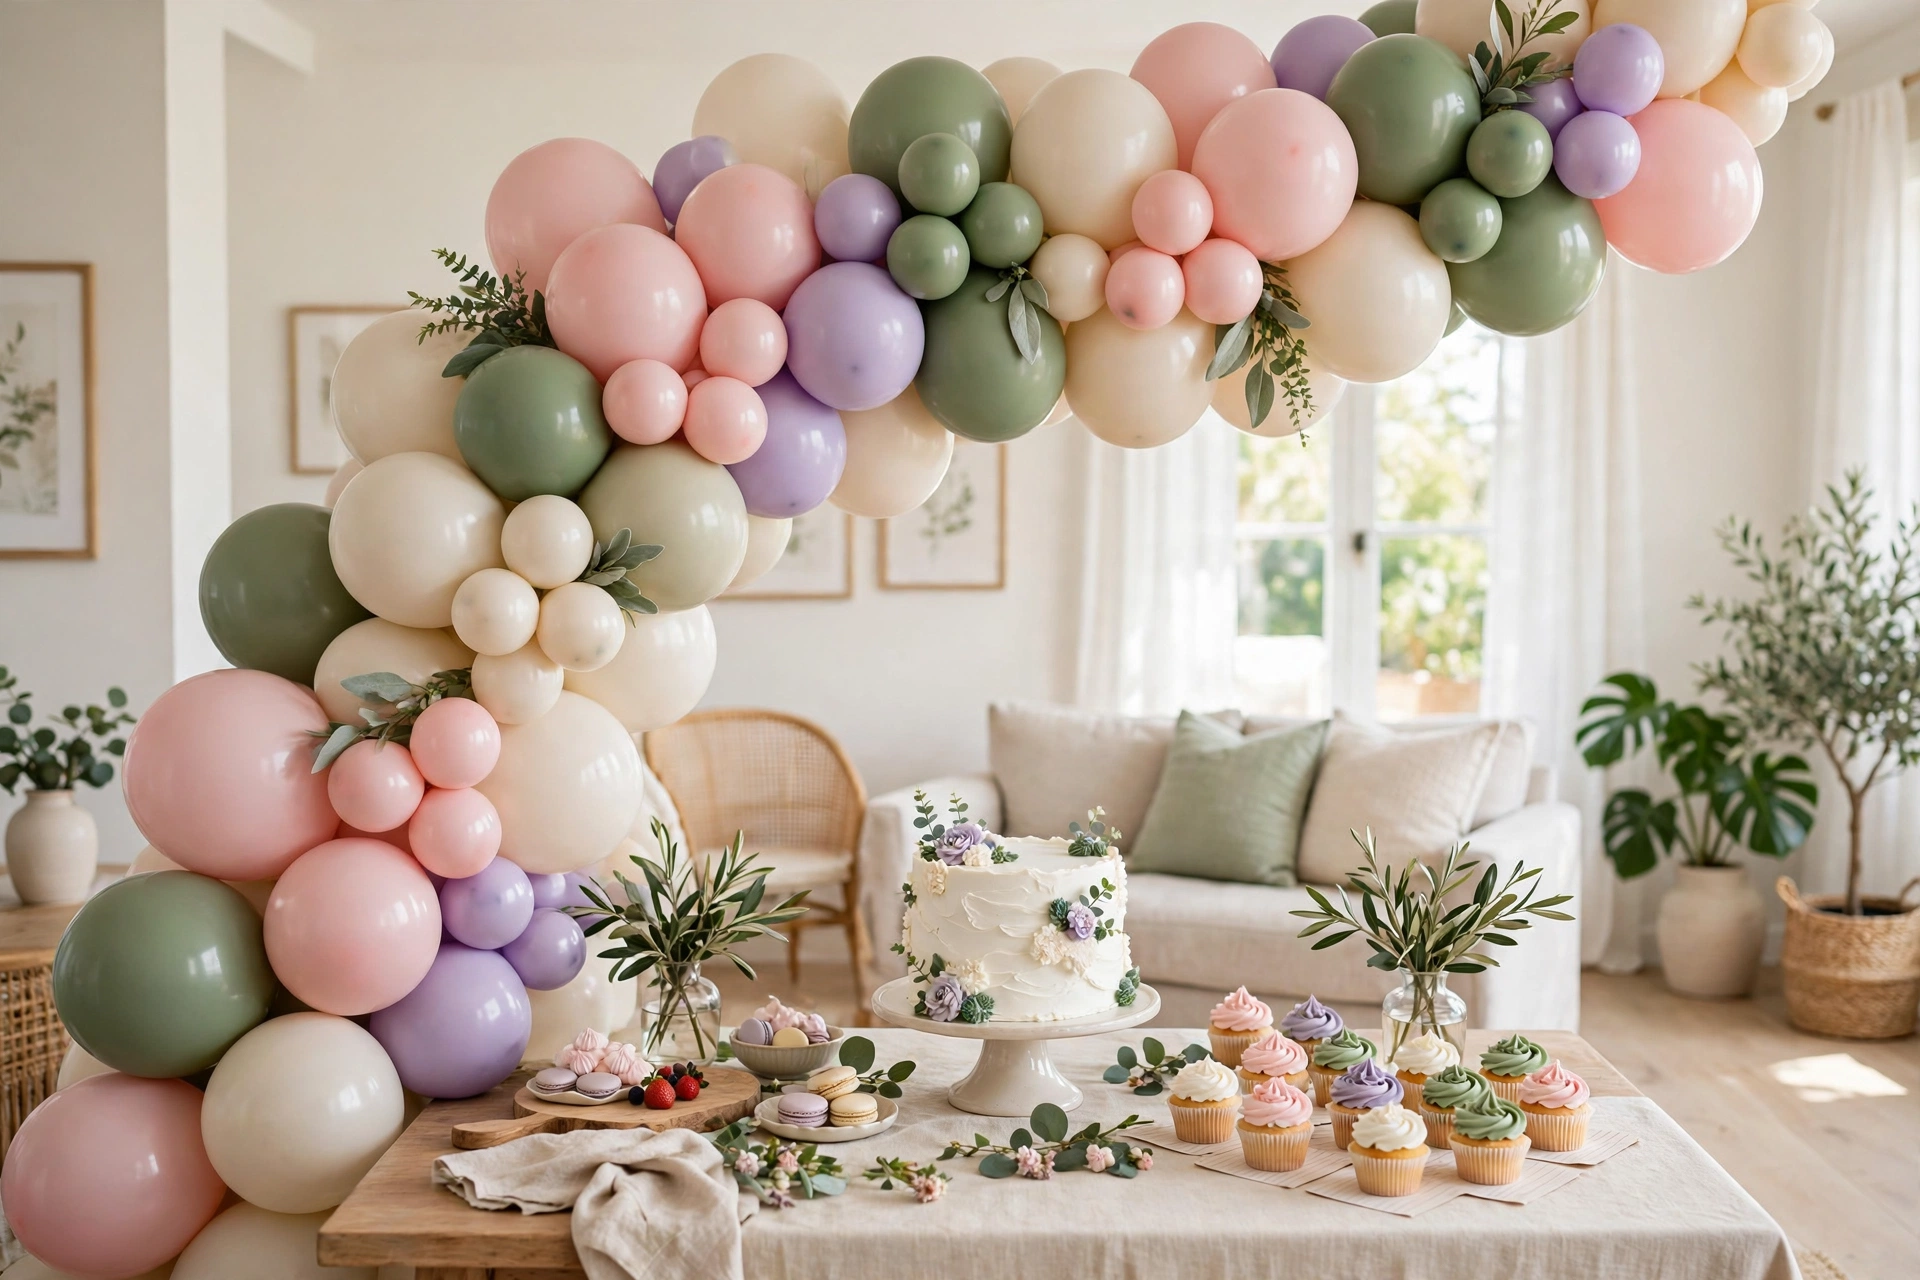
1. Sage green and cream. The most popular gender-neutral palette: muted sage, warm cream and white, eucalyptus woven through. Suits garden, boho and surprise-sex showers.
2. Lavender, blush and gold. Soft lavender and blush, gold accents at about one balloon in ten.
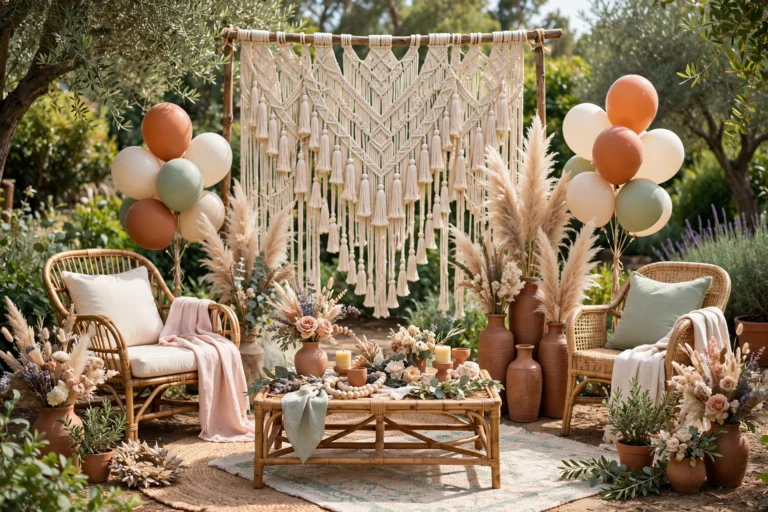
3. Terracotta and dusty blue. Warm terracotta against dusty blue, like a desert sunset.
4. Powder blue and silver. The classic boy-shower palette, softened with white and silver. Matte powder blue as the main colour, silver sparingly — too much turns frosty in photos.
5. Navy and gold nautical. Deep navy, cream and gold, with a rope or anchor detail on the gift table. Navy looks structured and expensive against white.
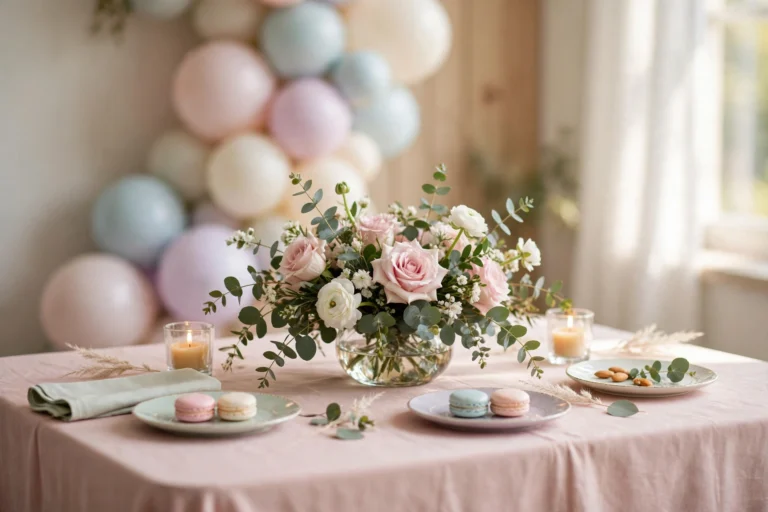
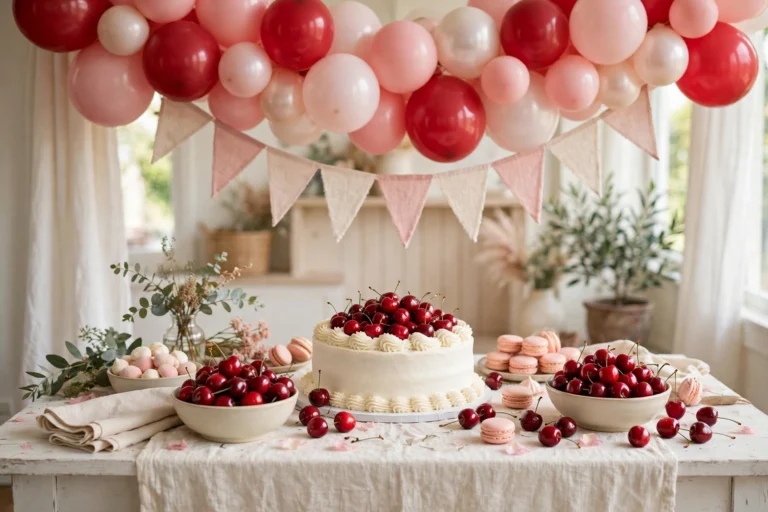
6. Blush pink and white. The classic girl-shower palette, still the most requested: blush, pale pink and white, with cream to stop the pink going saccharine.
7. Pastel rainbow. Blush, butter yellow, mint, sky blue and lilac, all soft and muted — never bright primaries.
8. Boho neutrals. Cream, taupe, sand and warm brown, with pampas grass and dried flowers.
9. Dinosaur and jungle greens. Sage, forest green and cream, wooden or kraft-brown accents — ideal for dinosaur or woodland themes.
10. Peach and cream. Peach brings pink’s warmth without leaning so sweet; cream keeps it gentle.
Popping: Underinflate slightly, keep balloons out of sun and heat, keep spares handy. Sagging: Add a hook every 2 ft and tie the strip to each one. Gaps: Fill with 5-inch balloons on glue dots. Wind outdoors: Build late, underinflate, anchor both ends, and use more ties than you think you need.

Where to Place Your Balloon Arch
An arch earns its keep by framing something: the doorway, the dessert table, or the photo backdrop. The right choice depends on your room.
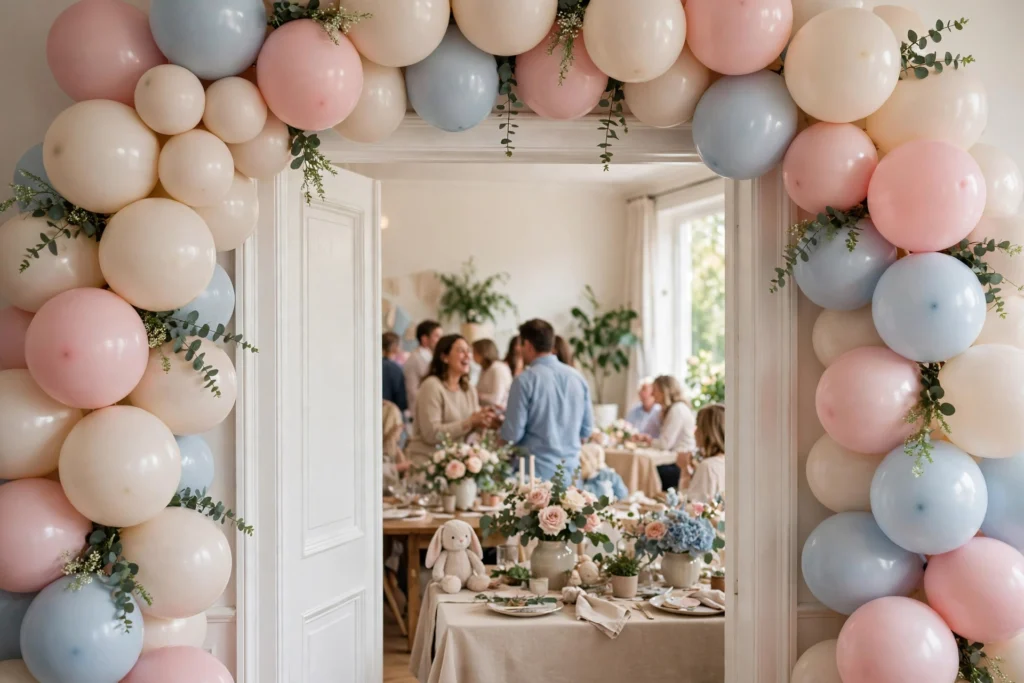
Over the doorway. A full arch framing the entrance makes every guest walk through the party as they arrive. It needs the most balloons, running up both sides, and the sturdiest hooks. For venue rules, check our guide to how to choose the perfect baby shower venue first.
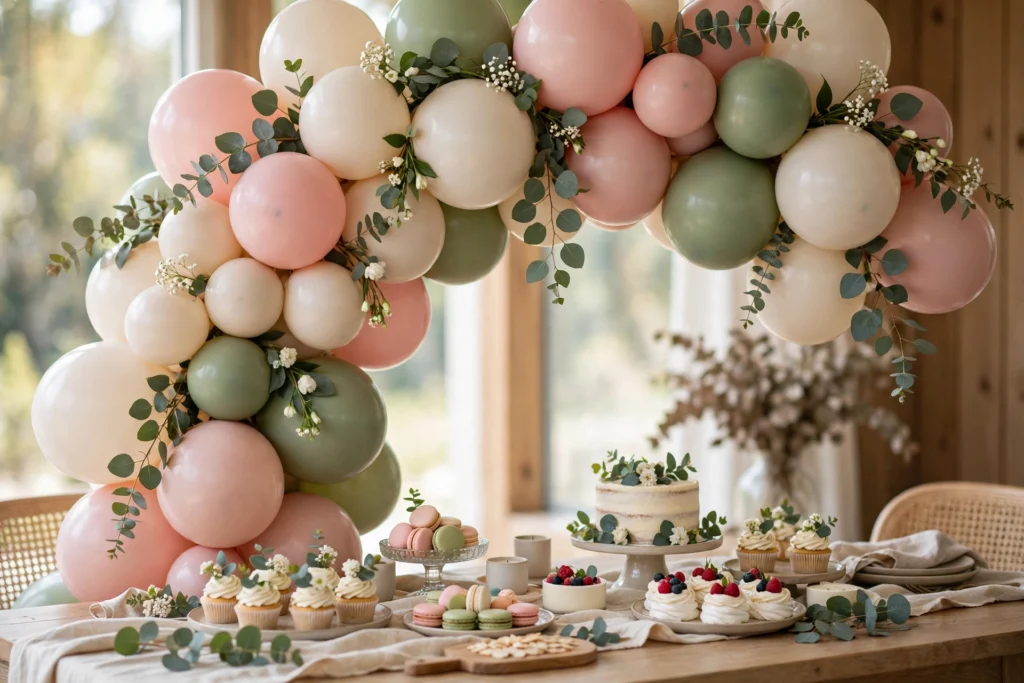
Over the dessert table. The most popular placement, and usually the smartest. The arch frames the cake, the table gives you something to tie the ends to, and every cake photo gets the arch free. A 4–6 ft wall garland is usually enough — keep it high so nobody bumps it reaching for cake.
As a photo backdrop. Pair the arch with a plain wall and a chair in front for a photo spot guests will use. Our guide to creative baby shower backdrop ideas covers the backdrop side, including lighting that flatters photos.
Where not to put it. Do not hang an arch where gifts press against it or in full sun, and never block a walkway. In a small room, a half-arch in one corner beats a full arch; the budget-friendly baby shower decorations that look expensive guide shows how one focal point carries a room.
How Far Ahead to Build It, and How to Store It
An air-filled latex arch kept indoors, away from sun and heat, usually looks good for several days and often lasts a week or two — though the finish dulls before balloons deflate, especially dark colours and metallics. The 5-inch fillers lose air sooner, but big balloons hide it.
Build the day before the shower, or the morning of it. The day before is the sweet spot — no rush, and you can fix mistakes in daylight. Two days ahead is fine indoors if the room stays cool. Never build a week ahead.
Outdoors, plan on one day only. Sun, heat and wind can finish an arch in hours, and dark colours go first. Build as late as you can, keep it shaded, underinflate, and have a backup plan. Our outdoor baby shower decoration ideas for a garden party cover the full weather backup plan. Store a finished arch somewhere cool and dark; move it in sections, never folded into a car boot.
Photograph the finished arch before the party starts, while the room is tidy and the light is good. Stand where guests will stand: is the cake in frame, is any strip showing?
Mistakes to Avoid
Too many colours. Four or five colours almost always looks messy. Three colours, one neutral, is the rule — put a fourth colour in the cake or flowers.
Overinflating. Balloons at their limit look pear-shaped, pop easily, and cannot expand in a warm room. Slightly underinflated ones are rounder, tougher, and last longer.
Using helium. An arch does not need helium — the strip and hooks hold it up. Helium adds cost, shortens its life to a day, and changes nothing.
Hanging it with tape alone. Tape and glue dots suit fillers, not a full garland. Use Command hooks rated for the weight, one every 2 ft; test one first on wallpaper or fresh paint.
Forgetting the spares. Every build loses a few balloons to pops and duds. Buying exactly the table number leaves arches half-finished — the 10–20% extra is not optional.
A Quick Balloon Arch Checklist
- Measure along the curve; cut the strip 1–2 ft longer.
- 3 or fewer colours, one neutral; metallics to about 10%.
- Buy from the size-aware table; add 10–20% spares.
- Pump, strip, glue dots, fishing line, hooks — bought before build day.
- Cut a cardboard template; inflate evenly, slightly under full.
- Build quads of 4 first, then thread them on.
- Hooks every 2 ft; tie the strip to each.
- Fill gaps with 5-inch balloons on glue dots; add accents; weave in greenery last.
- Build the day before, or as late as possible outdoors.
Frequently Asked Questions
How many balloons do I need for a balloon arch?
It depends on decorated length and balloon sizes, not doorway width. A classic arch of 11–12-inch balloons needs about 10–13 per foot: 60–80 for 6 ft, 80–105 for 8 ft, 100–130 for 10 ft. A dense organic arch needs far more: 85–120 for 6 ft, 110–150 for 8 ft, 140–200 for 10 ft.
How long does a balloon arch last?
An air-filled arch kept indoors, away from sun and heat, usually looks good for several days and often lasts one to two weeks. Outdoors, plan on one day only — sun, heat and wind can finish an arch in hours.
Do I need helium for a balloon arch?
No. An arch is held up by its strip, frame or hooks, not by lift, so every balloon is filled with ordinary air. Helium adds cost, shortens its life to roughly a day, and changes nothing. Use it only for floating bouquets.
How much does a DIY balloon arch cost?
A small wall garland costs roughly $25–$50 if you own a pump. A 6 ft arch runs roughly $25–$70, an 8 ft arch roughly $40–$100, and a full 10 ft arch roughly $60–$150. A professional typically charges $200–$600 or more.
How do I hang a balloon arch without damaging the wall?
Use Command hooks rated for the weight, about one every 2 ft, and tie the strip to them with fishing line. Clean the wall first, wait the recommended time, and follow the removal instructions. Avoid strong tape on paint and test adhesive on a hidden corner first.
Final Thought
A DIY balloon arch looks professional and costs a fraction of one — if you respect three things: the right balloon count for your size, three colours or fewer, and hooks strong enough to hold it. Measure along the curve, build in clusters of four, fill the gaps, and photograph it before guests arrive. Also see our guides to how many guests to invite, the baby shower timeline, and the budget-friendly baby shower decorations that look expensive guide.