How to Set Up a Baby Shower Dessert Bar on a Budget
Direct answer: To set up a baby shower dessert bar on a budget, use one table against a wall, build three heights with borrowed or DIY stands, and fill gaps with cheap treats like popcorn, candy, and cookies. Spend on one centrepiece dessert, keep the rest simple, and set plates at one end so guests flow past without crowding.
Walk into a baby shower and the dessert bar is usually the first thing guests photograph. It is also the part hosts worry about most, because online photos make it look expensive: tall stands, matching jars, and tiered trays that seem to cost more than the food.
A dessert bar looks generous because of height, colour, and fullness, and all three can be made with things you own, things friends will lend, and a few low-cost buys from a dollar store or grocery store. This guide covers the build, not the menu. For what to serve and how much to buy, see our companion guide to dessert table ideas.
Start With a Budget Before You Buy Anything
A budget dessert bar starts with a number, not a shopping trip. Decide the total first, then split it into three pots: the centrepiece, the supporting sweets, and the setup. The centrepiece is the dessert guests photograph, usually a small cake or a cupcake tower. The supporting sweets are cheaper treats that fill the table. The setup is stands, linens, labels, and serving tools.
When hosts overspend, it is usually the setup pot: stands and jars bought one at a time, without a total in mind. Protect the food first — guests remember a good cupcake, not where a stand came from. A phone note saying “stands: $15 maximum” stops the drift. If co-hosts share costs, agree the split before anyone buys anything and ask each person to bring one thing. See our guide to how much does a baby shower cost for the whole shower budget.
Pick the Table and the Spot First
A rectangular table is easiest to build on: a long, straight line with a clear back and a clear front. A round table works for a small shower, but heights are harder to layer on it and guests reach across each other.
Put the table against a wall. That gives you a backdrop and keeps tall items at the back. If the shower is in a small living room, our guide to budget-friendly baby shower decorations that look expensive has ideas for making a tight space feel styled rather than squeezed. Measure before the day: a 6-foot folding table suits about 15 to 20 guests, and a smaller card table suits 10 or fewer.
Before any food goes out, photograph the bare table with its cloth and stands in place. It shows instantly whether heights look balanced and the back row is hidden.
Build Height Cheaply: Stands and Risers That Cost Almost Nothing
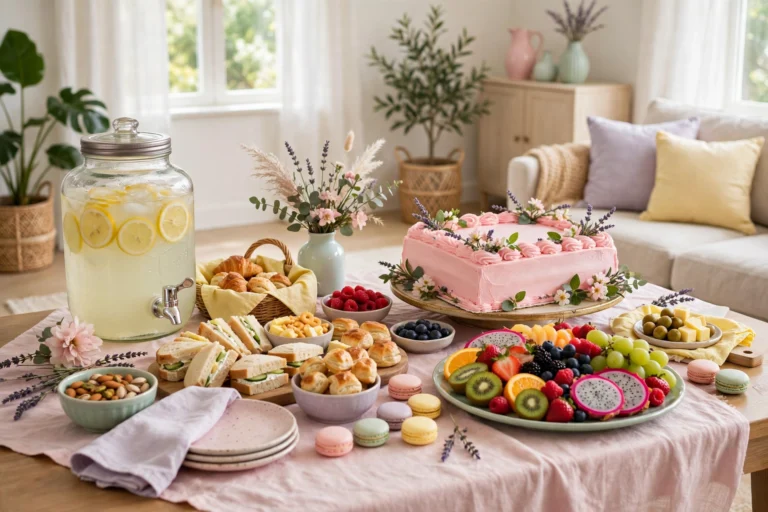
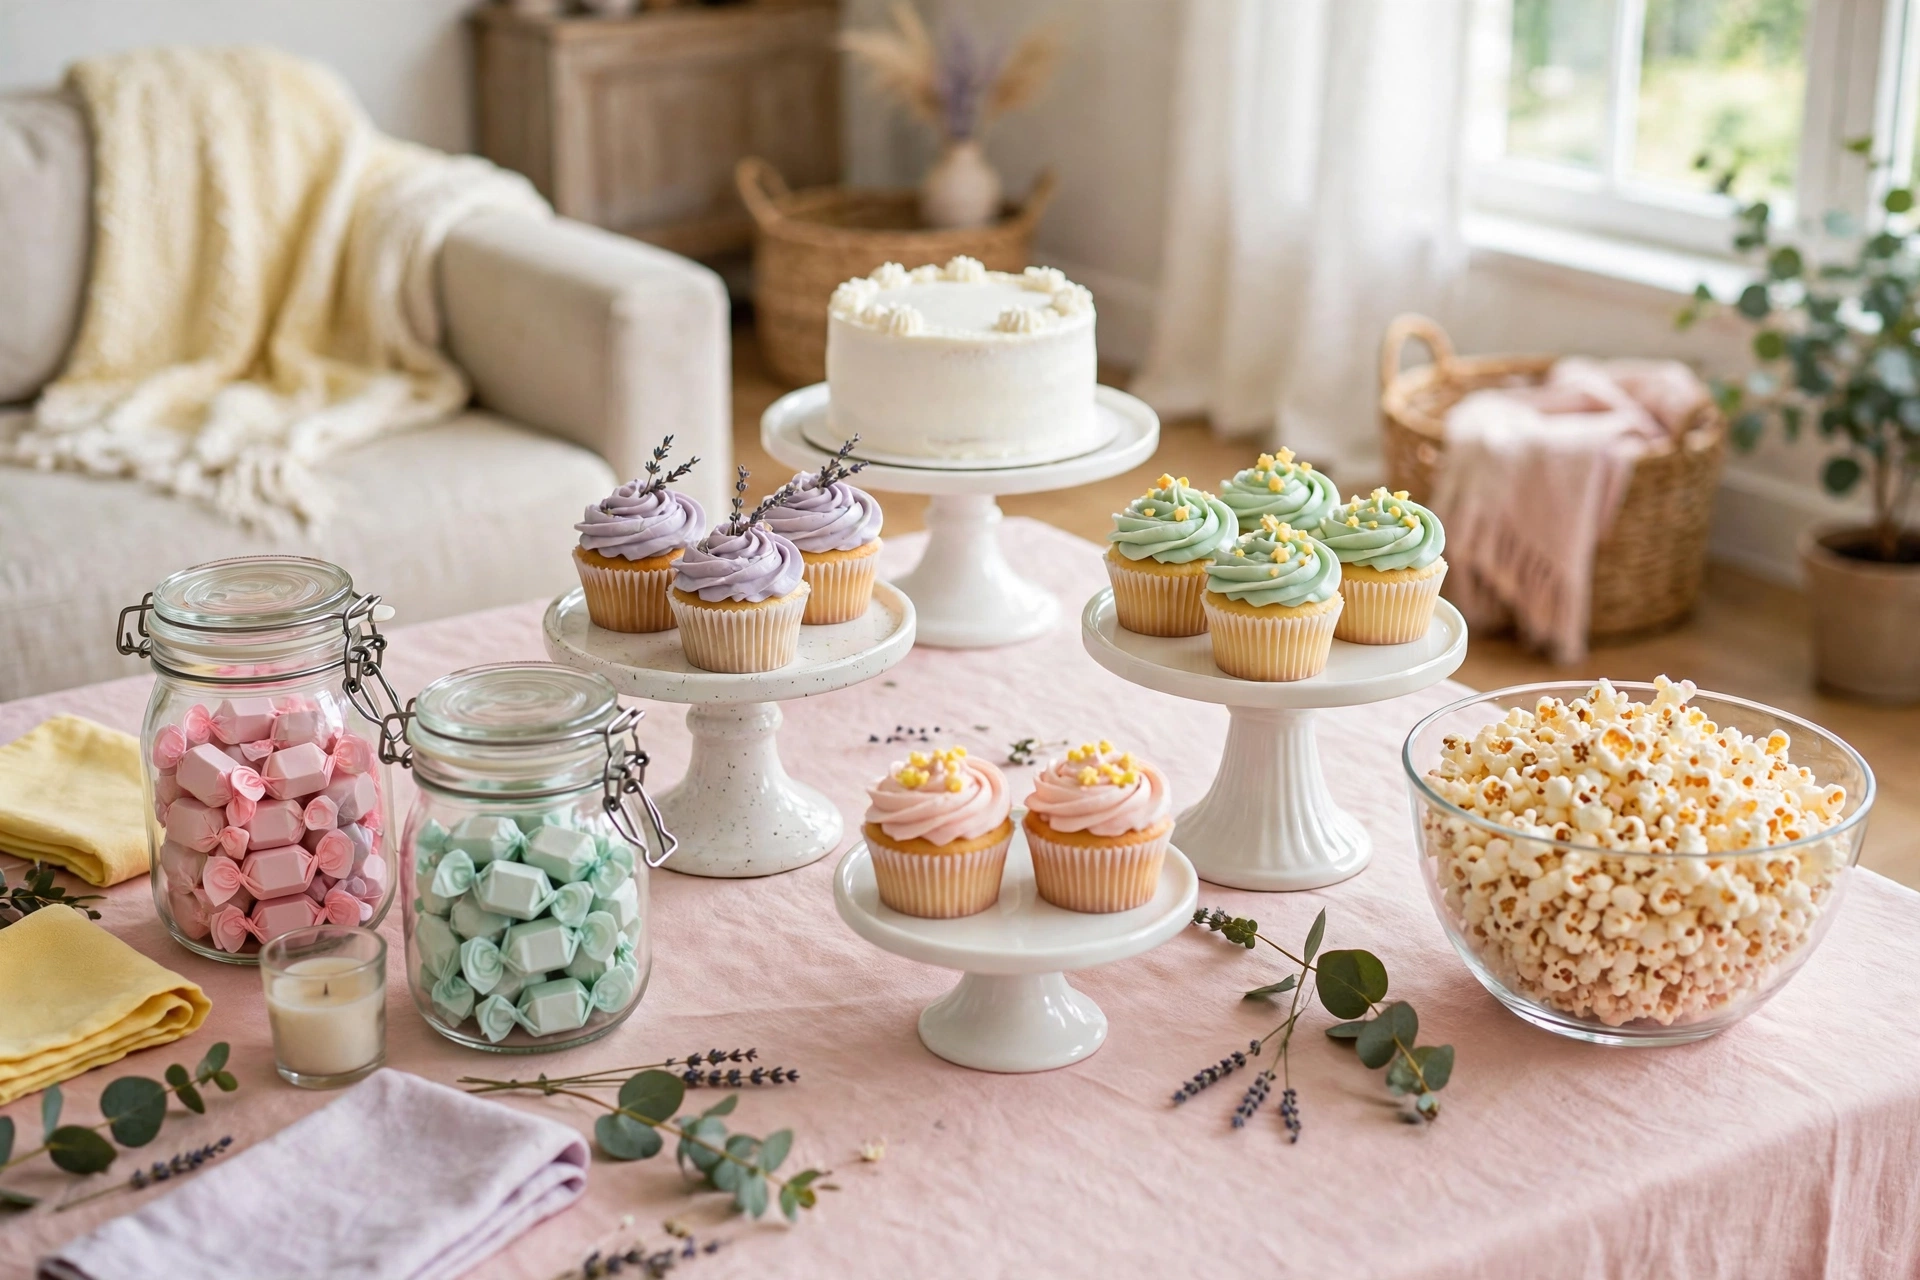
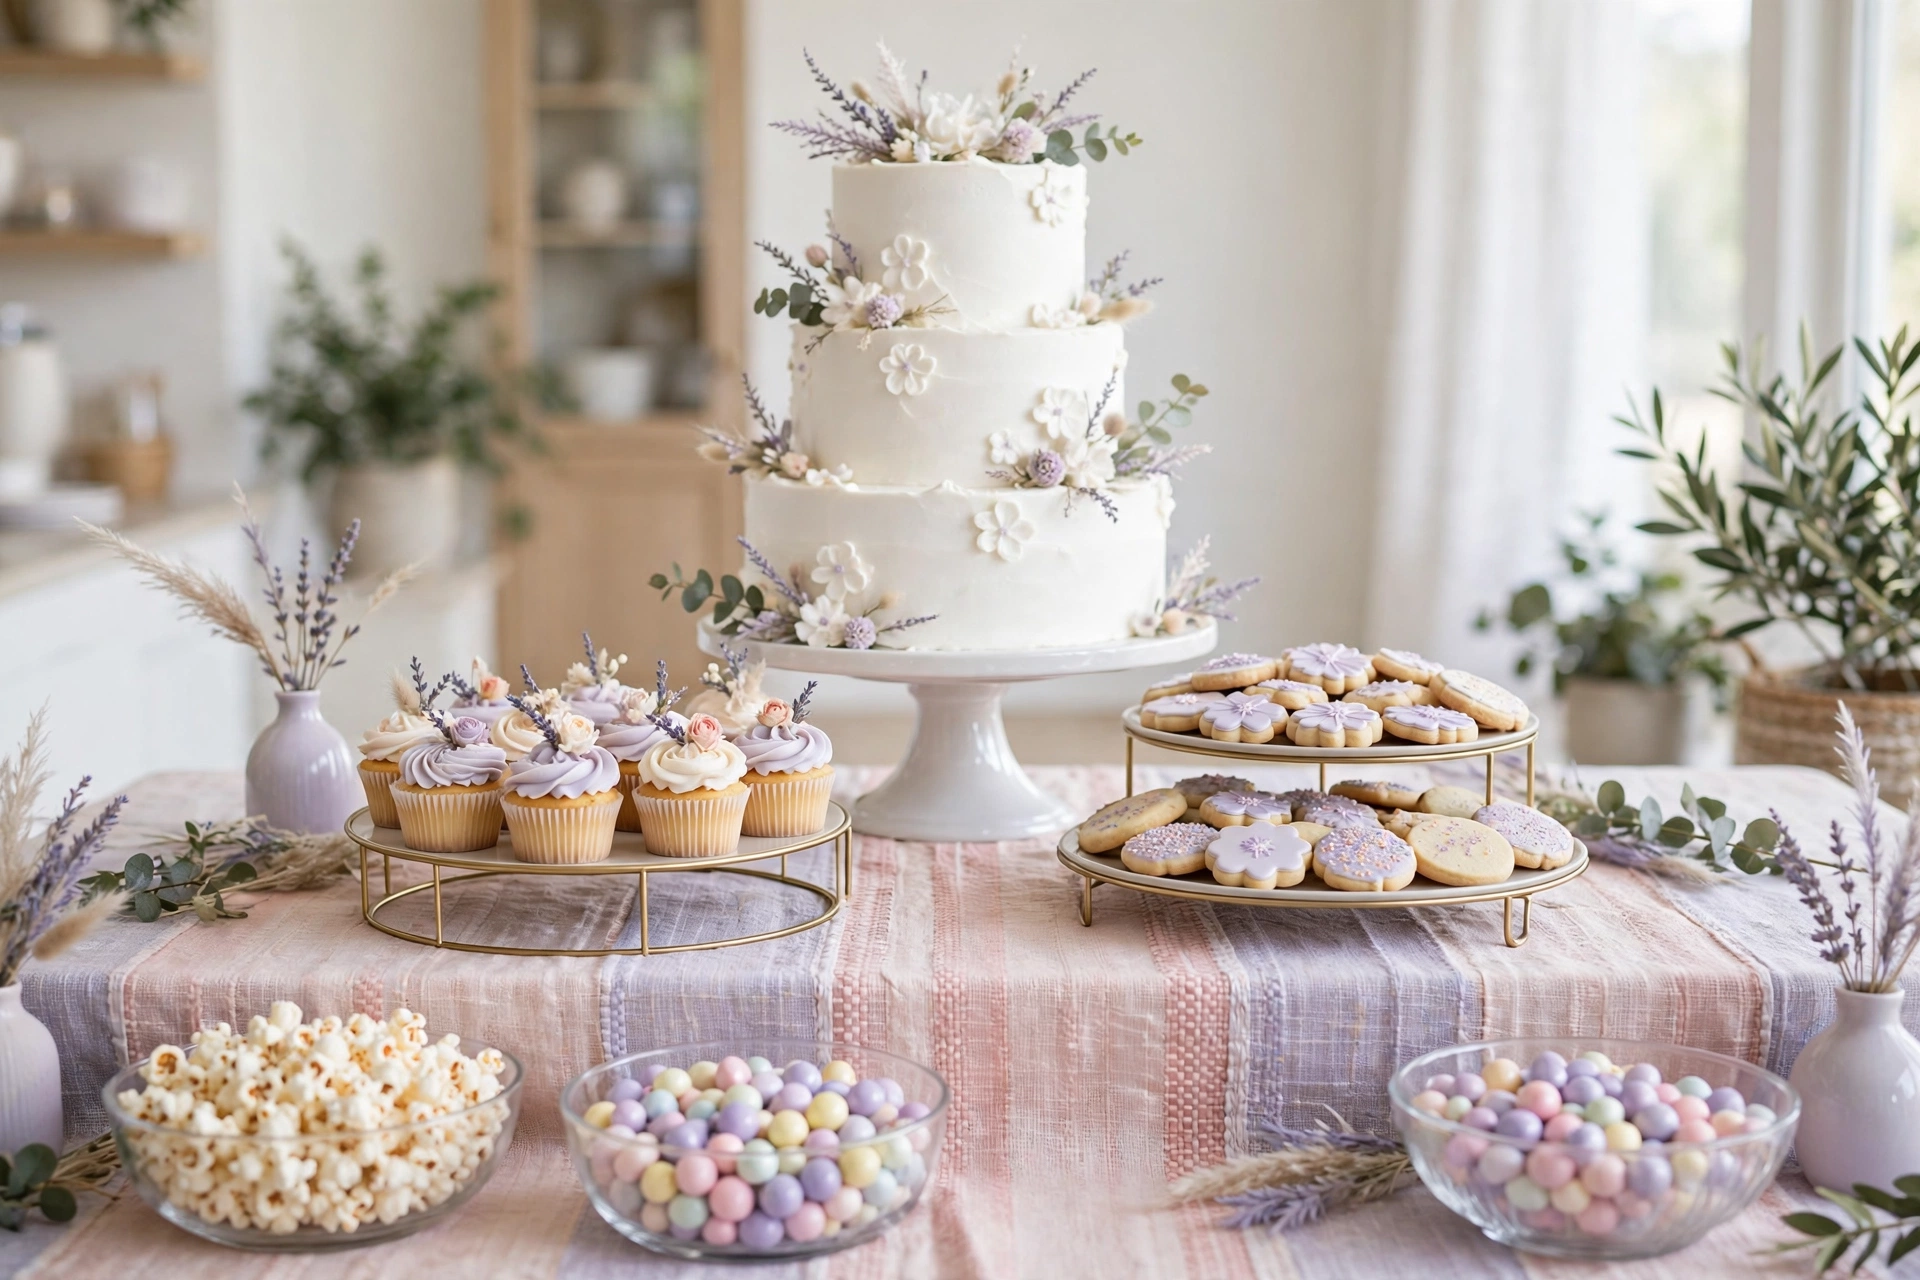
Height is what makes a dessert bar look professional, and it is the easiest thing to fake. The eye needs three levels: high at the back, medium in the middle, and low at the front. The cake or cupcake tower goes high at the back centre. Tiered trays and stands hold the middle row. Flat platters, jars, and bowls sit low at the front where guests can reach them easily.
You do not need to buy stands. Start by asking around. Between three households you can usually gather a cake stand, two tiered trays, a few pretty plates, and several glass jars.
If you still need stands, make them. The classic DIY is a plate glued to a candlestick: a dollar-store plate and a glass candlestick, fixed with strong craft glue and left to dry overnight, makes a pedestal stand for a small cake or a dozen cupcakes. Sturdy boxes are the best hidden risers: a shoe box wrapped in wrapping paper, fabric, or a pastel tablecloth lifts a whole tray by several inches, and nobody sees the box underneath.
Cake stands are the priciest part of the setup, and most hosts use them once. Ask friends and family first — between three households you can usually gather every stand you need, free.

Cheap Fillers That Make the Bar Look Full
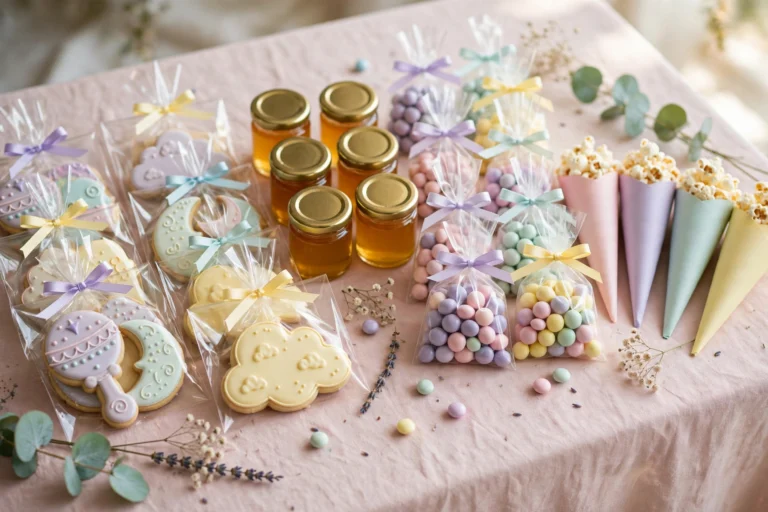
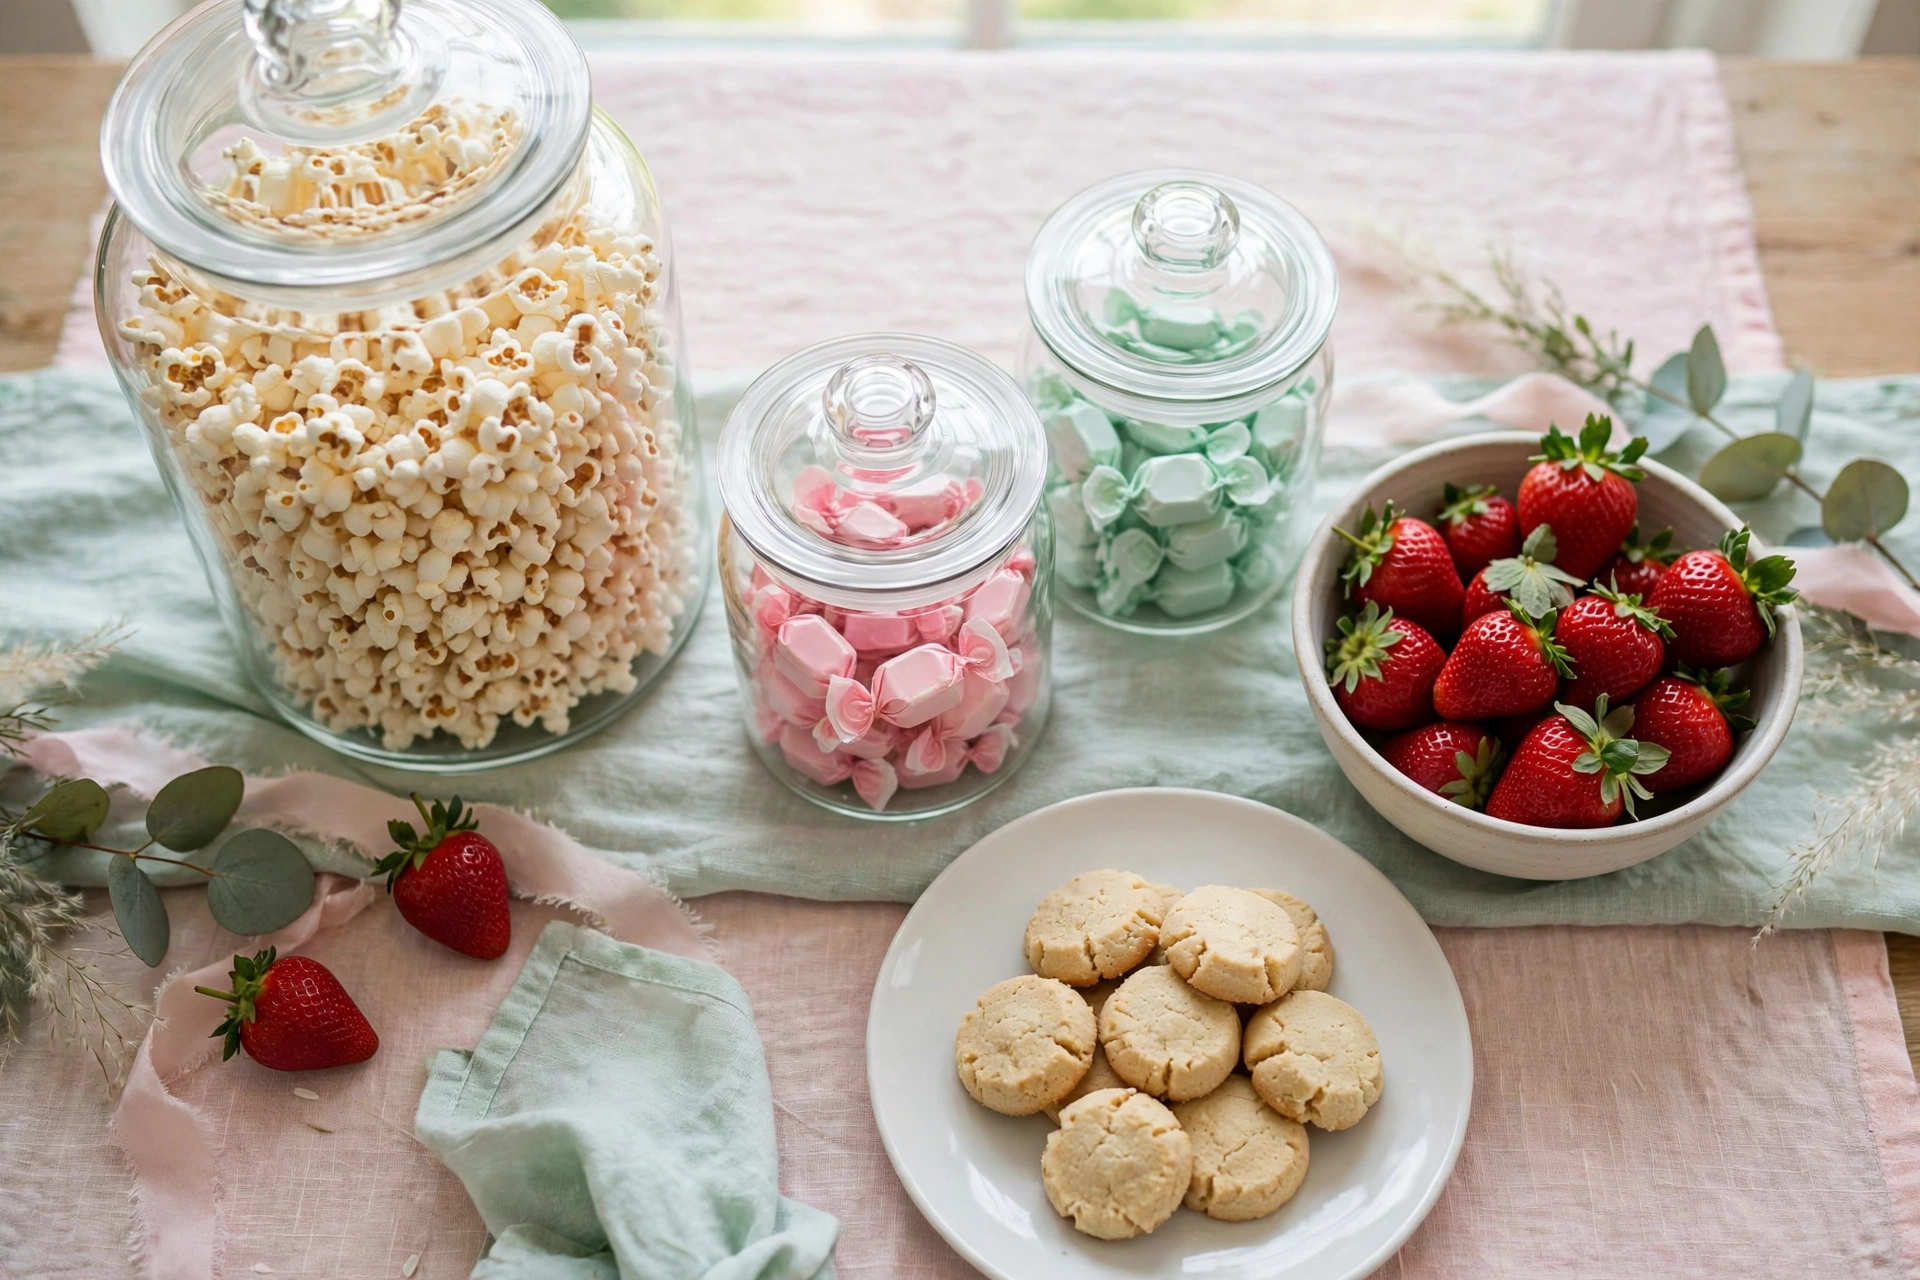
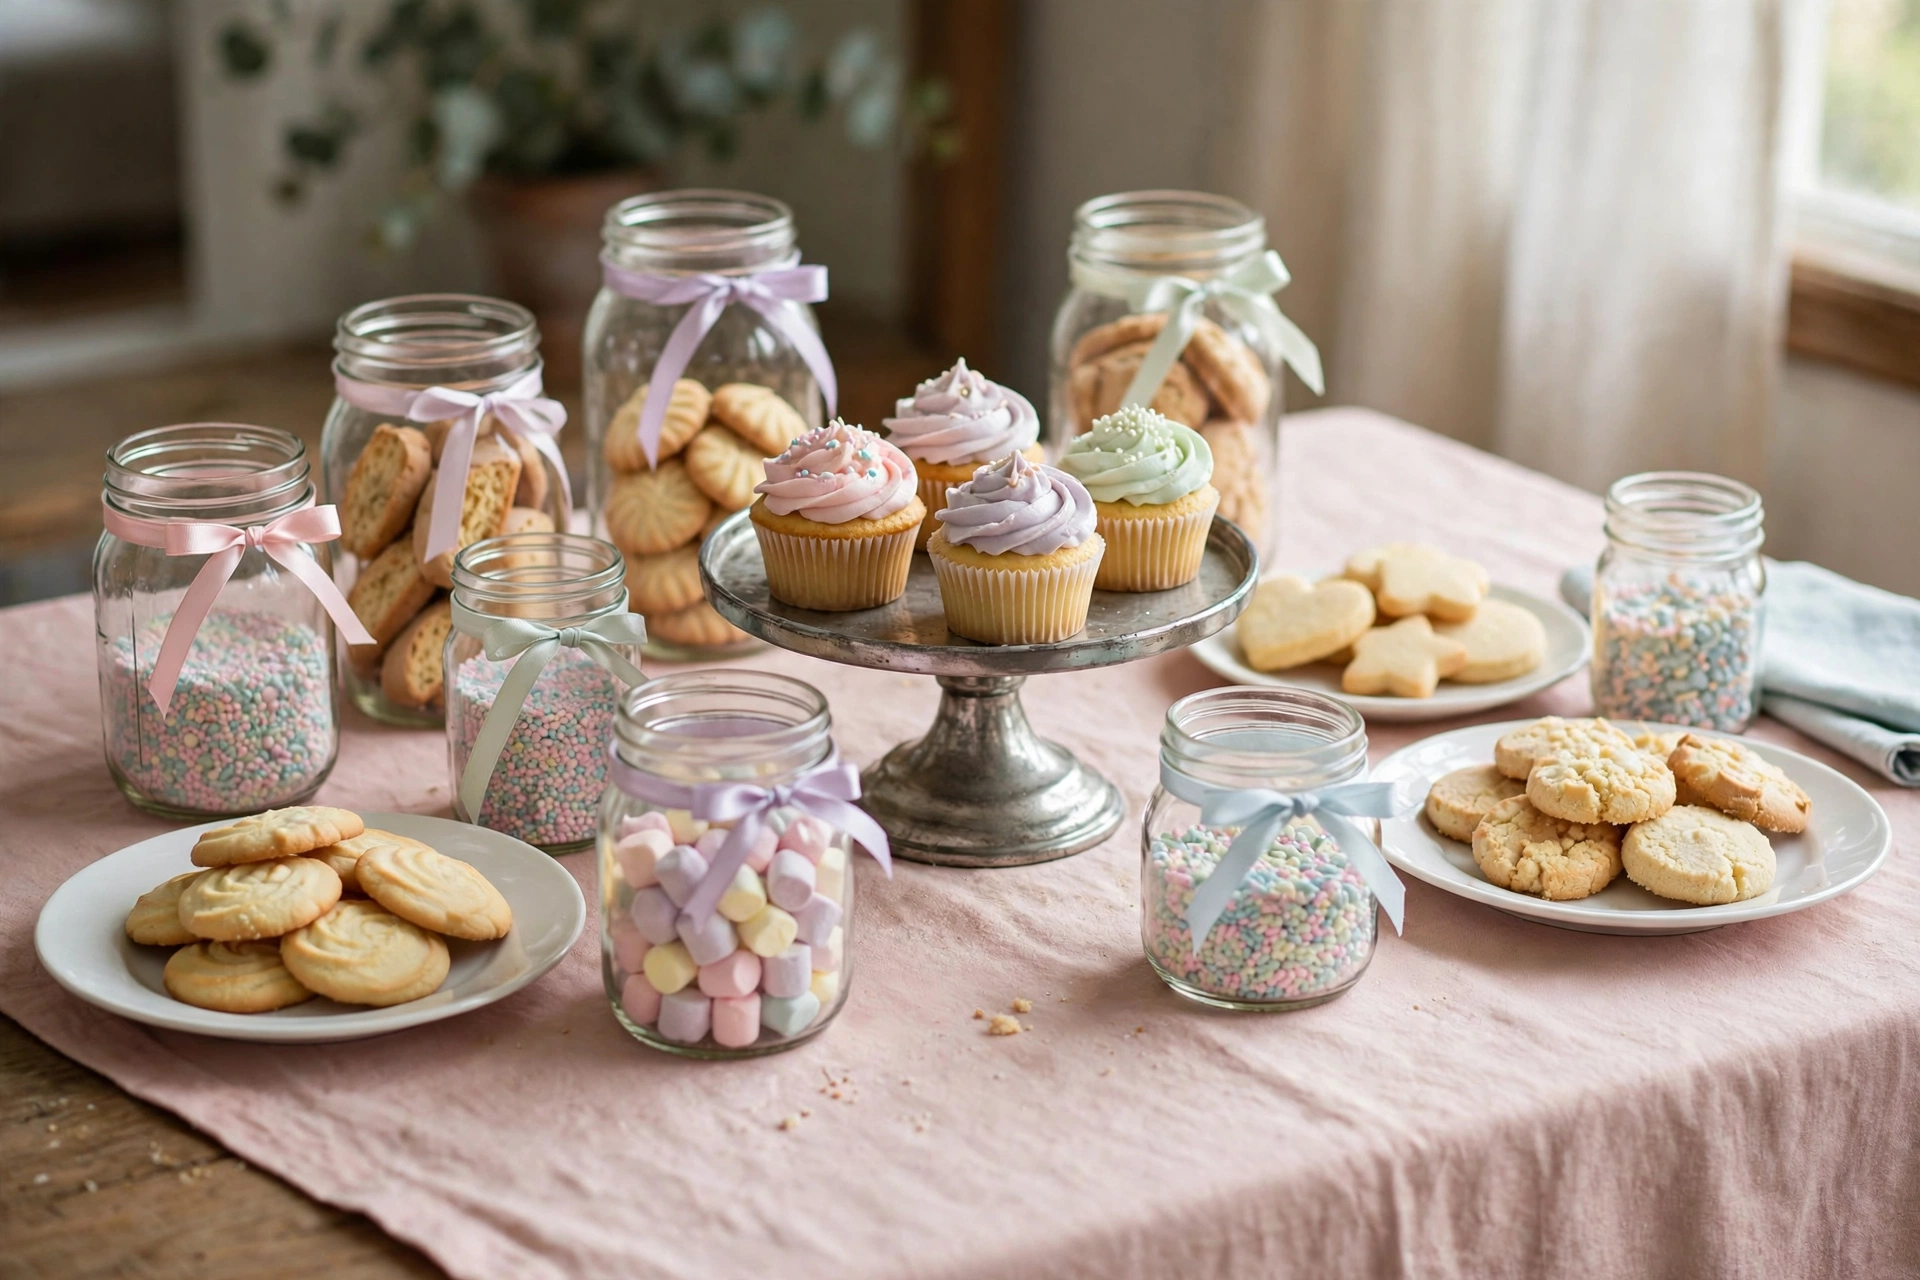
A dessert bar looks abundant when there are no empty gaps, and gaps are cheapest to fill with volume, not with expensive sweets. Popcorn is the classic: a big bowl of plain or lightly pink-tinted popcorn costs very little, fills a large jar, and guests actually eat it. Wrapped candy in your shower colours, bought in bulk bags, fills jars and small bowls for a few dollars. Pretzel sticks, mini marshmallows, and small cookies do the same job.
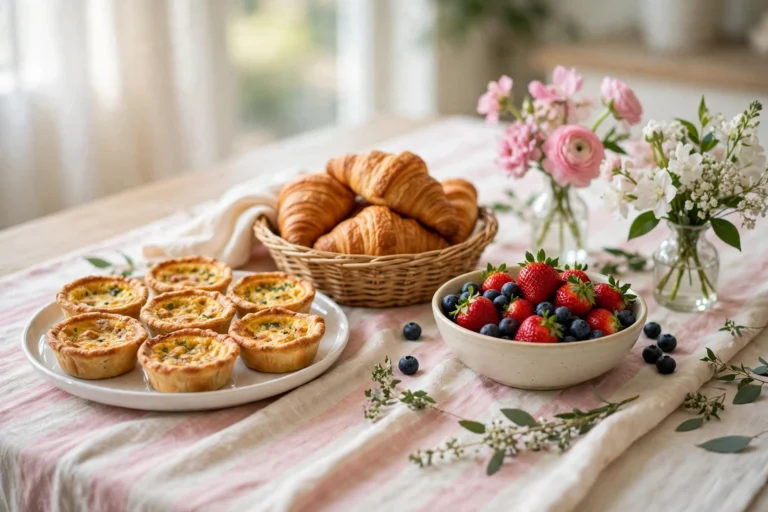
Fresh fruit is a filler that also adds colour. A bowl of strawberries, a pile of grapes, or sliced citrus on a platter breaks up a table of brown and white sweets and makes the whole bar look fresh. Leave a finger-width gap between groups of desserts so each one reads as its own item, and so guests can pick up a cupcake without knocking over the jar next to it.
Lay Out the Bar Step by Step
A good layout is built in order, and the order matters. Start with the cloth. A plain tablecloth in white, blush, or your main shower colour is the base; a second, narrower runner in a contrasting pastel laid down the centre adds a finished look for the price of a strip of fabric.
Next, place the empty stands and risers. Put the tallest at the back centre, medium stands to either side, and low plates and jars along the front.
Then add the backdrop. A simple backdrop — pastel fabric, paper fans, or a balloon cluster — makes the bar photograph beautifully for very little. Keep it behind the table, not over it, so nothing can fall into the food. Match the colours to your theme — see our unique baby shower themes guide.
Now place the food, tallest first. Set the centrepiece cake or cupcake tower on its stand, then fill the medium stands, then the low front row. Finally, walk the guest route yourself and serve a cupcake without stretching — this five-minute test catches most layout problems.
Put out half of each dessert first and keep the rest covered in the kitchen. The table looks just as full and the second half stays fresh.
Where to Save and Where to Spend
Spend on the centrepiece, because it is the photo and the memory. A small, well-made cake from a local bakery, or a batch of cupcakes from a baker you trust, is worth more than three mediocre sweets bought to fill space.
Save on everything that is only seen, not eaten. Stands, jars, linens, labels, and decorations can be borrowed, made, or bought second-hand.
Typical cost ranges below are planning guides, not quotes; prices vary by US region and retailer, and borrowed options are often free.
| Setup piece | Cheapest good source | Typical cost range | Worth buying new? |
|---|---|---|---|
| Cake stand | Borrow; or plate + candlestick DIY | $0–$5 DIY; $15–$40 new | Only if you will reuse it |
| Tiered tray | Borrow; or plates stacked on jars | $0–$8 DIY; $15–$35 new | No — borrow first |
| Risers | Wrapped boxes, books, crates | $0–$5 for paper or fabric | No |
| Candy jars and bowls | Kitchen cupboards; dollar store | $0–$3 each | Only for missing sizes |
| Tablecloth and runner | Borrow; or plain fabric by the yard | $0–$15 | Yes, if no loan is available |
| Serving tools and plates | Grocery or dollar store packs | $5–$15 for a shower | Yes — buy enough |
Shop in this order: borrow first, check what you own, then the dollar store, then the grocery store, and only then a party shop. Each step up costs more, and most bars never need the last step.
A Simple Shopping Plan for 15 and 25 Guests
For quantities of each dessert, see our dessert table ideas guide. The point here is how little setup you actually need.
For about 15 guests, you need one 6-foot or card table, one cake stand or cupcake tower, two medium stands or tiered trays, three to four low bowls or jars for fillers, one tablecloth, and labels for each dessert. For about 25 guests, add one more medium stand, two more jars, and a second table or a side table for drinks, because the bar itself should not have to hold everything.
Buy the supporting sweets in bulk where it helps: a large bag of popcorn, a bulk bag of wrapped candy in your colours, and a tray of grocery bakery cookies cover the fillers for either size. Bake at home where you are confident — a tray of brownies or rice crispy treats costs little and fills a platter — and buy the centrepiece from a baker. Ask co-hosts to each bring one dessert and one piece of setup, and tick items off a shared list.
Day-Of Setup: A Timeline That Keeps You Calm
A dessert bar built in a rush looks rushed. Give yourself two hours before guests arrive, and work in the same order as the layout: cloth and stands first, backdrop second, food last.
Two days before, confirm every borrowed item is in the house, make or buy the labels, and wrap the box risers. The day before, bake anything homemade, buy the fillers, and set the table with its cloth and empty stands so you can see the layout in daylight. One hour before guests arrive, put out the centrepiece and the sturdy sweets — cookies, brownies, wrapped candy, popcorn. Thirty minutes before, add anything soft or chilled, like cupcakes with cream frosting or fruit.
Food safety matters even at a small home shower. Keep creamy or dairy desserts chilled until serving time, and do not leave them out for more than about two hours at room temperature.
Load each DIY stand with something heavy, like a bag of sugar, the day before. If it wobbles, rebuild it or borrow a replacement — a collapsed cupcake tower cannot be fixed once guests arrive.
Mistakes That Make a Cheap Bar Look Cheap
A budget bar only looks cheap when the shortcuts show. The most common mistake is buying too many different stands in different styles and colours, so the table looks like a jumble sale.
The second mistake is height in the wrong place. A tall jar at the front hides everything behind it, and a low cake at the back disappears. Tall goes at the back, always, and low goes at the front.
The third mistake is forgetting the practical pieces. No plates at the start of the bar means guests hold a cupcake in one hand and search for a napkin with the other. No tongs means hands in the candy jar. No labels means the same three questions all afternoon. These pieces cost very little and their absence is noticed far more than a missing decoration.
Small Spaces, Outdoor Showers, and Take-Home Favours
A small space does not need a smaller idea, just a narrower bar. See our guide to baby shower table decorations for tight-table centrepieces: vertical height saves more space than a wider table. See our guide to how many guests should you invite to a baby shower before finalising numbers.
For an outdoor shower, weight matters. A breeze will move paper labels and light stands, so use heavier jars at the front, tape labels down, and keep the cake out of direct sun.
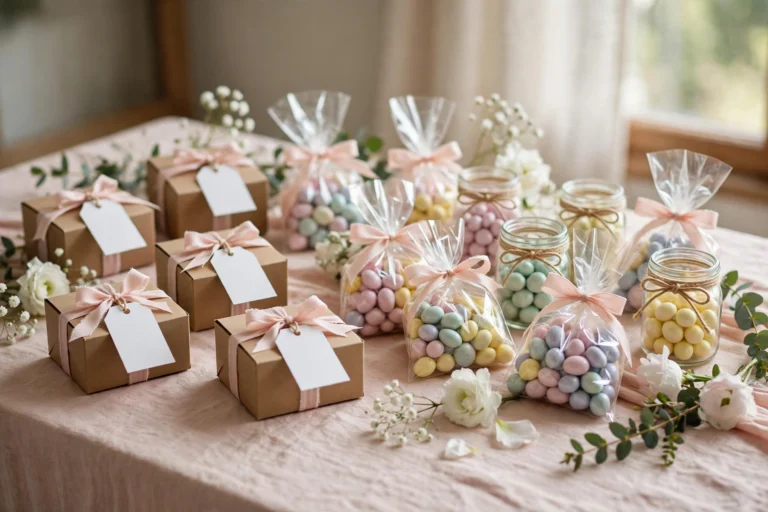
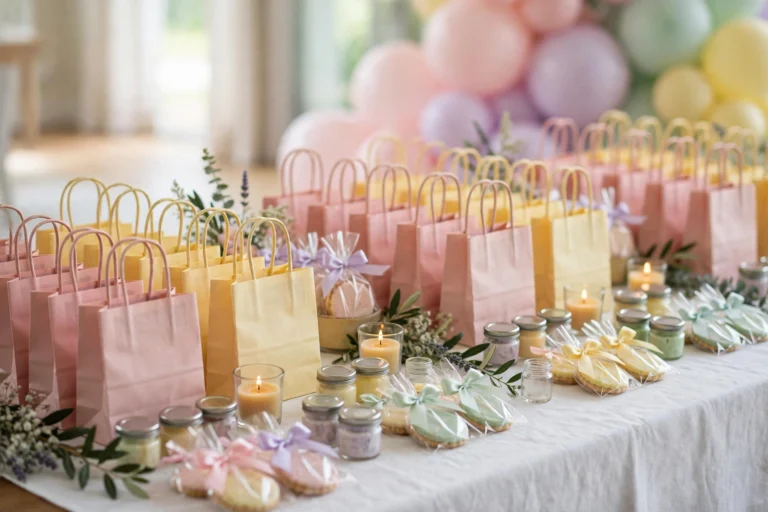
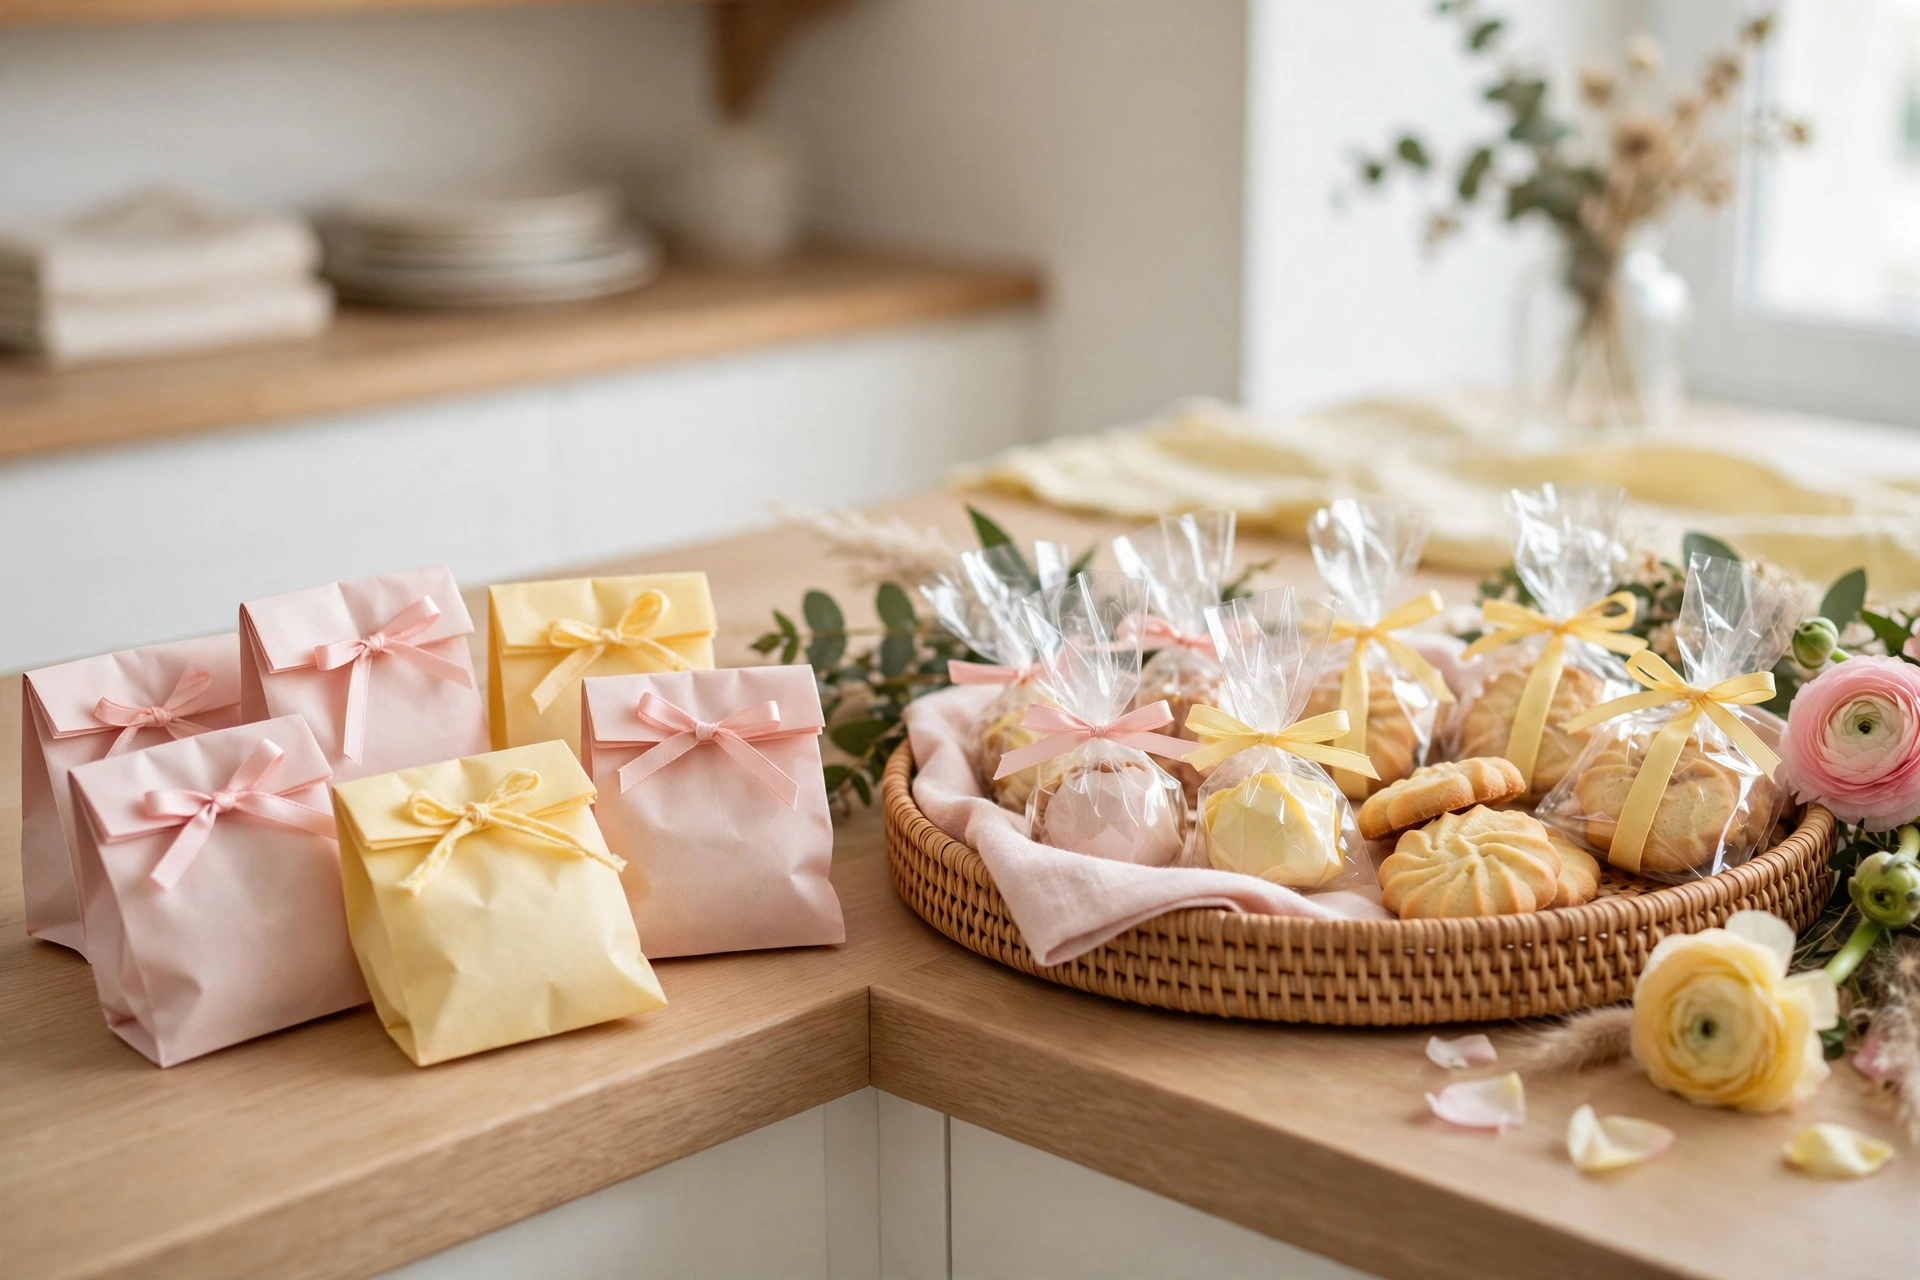
The dessert bar can also do double duty as favours. Set out small bags or boxes at the end of the bar and let guests fill one with a few wrapped sweets to take home. It costs little extra — the fillers are already there — and it means the leftover candy has a home. Keep the take-home station at the far end, after the plates, so it does not slow down the serving line.
Frequently Asked Questions
How much does a baby shower dessert bar cost?
A simple home dessert bar can cost very little when stands are borrowed and fillers are bought in bulk. Typical planning ranges are about $40–$120 for the sweets for 15–25 guests, plus $0–$30 for setup if you borrow stands and make risers yourself. Prices vary by US region and retailer — set your total first.
How do I make a dessert bar look full on a budget?
Build three heights with borrowed or DIY stands, then fill every gap with low-cost volume: popcorn, wrapped candy, cookies, and fresh fruit.
What can I use instead of buying cake stands?
Borrow cake stands and tiered trays from friends and family first. Otherwise, make a pedestal stand from a plate and a candlestick with strong craft glue, stack plates on jars or upturned mugs, or wrap sturdy boxes in paper or fabric as risers. Keep food on a clean plate above any glued surface.
How many desserts should a dessert bar have?
Six different desserts is plenty for most showers: one centrepiece, two or three supporting sweets, and two cheap fillers such as popcorn and wrapped candy. For quantities per guest, see our dessert table ideas guide, which covers portions in detail.
How far ahead can I set up a dessert bar?
Set the table, cloth, stands, and backdrop the day before. Put sturdy sweets out about an hour before guests arrive, and add chilled or cream desserts about 30 minutes before. Keep dairy items chilled until serving.
Final Thought
A baby shower dessert bar on a budget is not a smaller version of an expensive one. It is a different build: borrowed stands, a few clever risers, cheap fillers, and one good centrepiece, arranged with care. Set the budget first, borrow before you buy, build three heights, and lay the bar out in order — cloth, stands, backdrop, food. Guests will never guess how little the setup cost. See our guide to how to plan a baby shower for the wider plan.